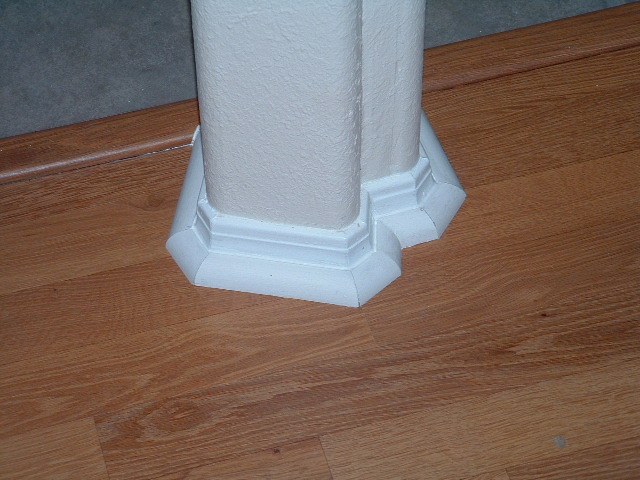
How to Cut Corners for Quarter Round: A Step-by-Step Guide to Achieve Seamless Edges

Image: www.laminate-flooring-installed.com
Trimming around baseboards, moldings, or window sills requires precise cuts to create professional-looking finishes. Quarter round, a small decorative molding, adds a touch of elegance and conceals unsightly gaps and uneven surfaces. Cutting corners for quarter round can seem intimidating, but it’s actually an easy process with the right tools and techniques. In this comprehensive guide, we’ll walk you through the steps to help you achieve seamless and visually appealing corners like a pro.
Understanding the Anatomy of Quarter Round
Before diving into the cutting process, it’s helpful to understand the different parts of a quarter round:
- Back: The flat side that gets attached to the surface.
- Leg: The vertical side that stands perpendicular to the back.
- Crown: The rounded top edge that creates the decorative profile.
This understanding will assist you in making accurate cuts that fit perfectly together at each corner.
Essential Tools for Cutting Quarter Round:
Gather the following tools to ensure a successful corner-cutting experience:
- Miter Box: A specialized tool that guides the saw blade at a precise 45-degree angle.
- Miter Saw: A powered or manual saw used to make precise angled cuts.
- Backsaw or Coping Saw: A handheld saw for making detailed or intricate cuts.
- Carpenter’s Pencil or Marking Tool: For transferring measurements and marks.
- Tape Measure or Ruler: For accurate length measurements.

Image: blogszerotwo.blogspot.com
Step-by-Step Guide to Cutting Corners for Quarter Round:
Step 1: Measure and Mark the Quarter Round
Measure the length of the two pieces of quarter round that will meet at the corner. Mark these measurements on both pieces accurately.
Step 2: Set Up the Miter Box
Select the appropriate slot in the miter box based on the thickness of the quarter round. Place the quarter round inside the slot, ensuring the back and leg are properly aligned.
Step 3: Mark the 45-Degree Angle
Use a pencil or marking tool to trace a line along the edge of the miter box at the end of the quarter round. This will create a 45-degree angle.
Step 4: Make the First Cut
Securely hold the quarter round in the miter box and position the miter saw blade at the marked line. Slowly and carefully make the first 45-degree cut.
Step 5: Create the Mitered Corner
Repeat steps 3 and 4 for the second piece of quarter round. This will create a 45-degree angle on the opposite side. When the two pieces are joined, they will form a 90-degree mitered corner.
Step 6: Dry Fit and Adjust
Before attaching the quarter round, dry fit the two pieces together to ensure they meet seamlessly. If necessary, adjust the angle of the cuts slightly using a back saw or coping saw.
Step 7: Attach the Quarter Round
Apply adhesive or use nails to attach the quarter round to the surface. Make sure to align the pieces carefully before securing them in place.
How To Cut Corners For Quarter Round
Pro Tips for Perfect Quarter Round Corners:
- Use a Sharp Blade: A dull saw blade can lead to rough or chipped cuts.
- Practice First: Practice the cutting technique on scrap pieces of quarter round before making cuts on the actual pieces.
- Clamp the Quarter Round: Securely clamp the quarter round in the miter box to prevent it from moving during cutting.
- Double Check Measurements: Measure carefully and double-check your measurements before making cuts to avoid errors.
- Don’t Force the Cuts: Guide the saw slowly and smoothly to achieve clean and precise cuts.
With patience and attention to detail, you can master the art of cutting corners for quarter round and transform your home with a professional-grade finish.

/GettyImages-1303637-two-way-mirror-57126b585f9b588cc2ed8a7b-5b8ef296c9e77c0050809a9a.jpg?w=740&resize=740,414&ssl=1)


