The Distress of a Flat Tire
There’s nothing quite as disheartening as discovering a flat tire, especially when you’re miles away from civilization. While calling for roadside assistance is often the quickest solution, it can be expensive and time-consuming. If you’re looking for a more cost-effective and empowering solution, patching a tire from the inside is a viable option. This guide will walk you through the steps, empowering you to rescue your ride and continue your journey without breaking the bank.

Image: engineswork.com
Patching from the Inside: A Closer Look
Patching a tire from the inside involves repairing the puncture from inside the tire, creating a permanent seal. This method is particularly useful for punctures in the treads or sidewalls, where traditional external patching may not be effective. It’s a simple process that can be completed with basic tools and some patience.
Understanding Punctures and Patches
Before diving into the patching process, it’s important to understand the different types of punctures and patches available. Punctures can be classified as either tread punctures or sidewall punctures. Tread punctures occur on the tread or shoulder of the tire, while sidewall punctures occur on the side of the tire. It’s essential to identify the type of puncture to select the appropriate patch.
There are two main types of patches: plug patches and patch plugs. Plug patches are small, round patches that are inserted directly into the puncture. Patch plugs, on the other hand, are larger, mushroom-shaped patches that cover a wider area around the puncture.
Comprehensive Guide to Patching a Tire from the Inside
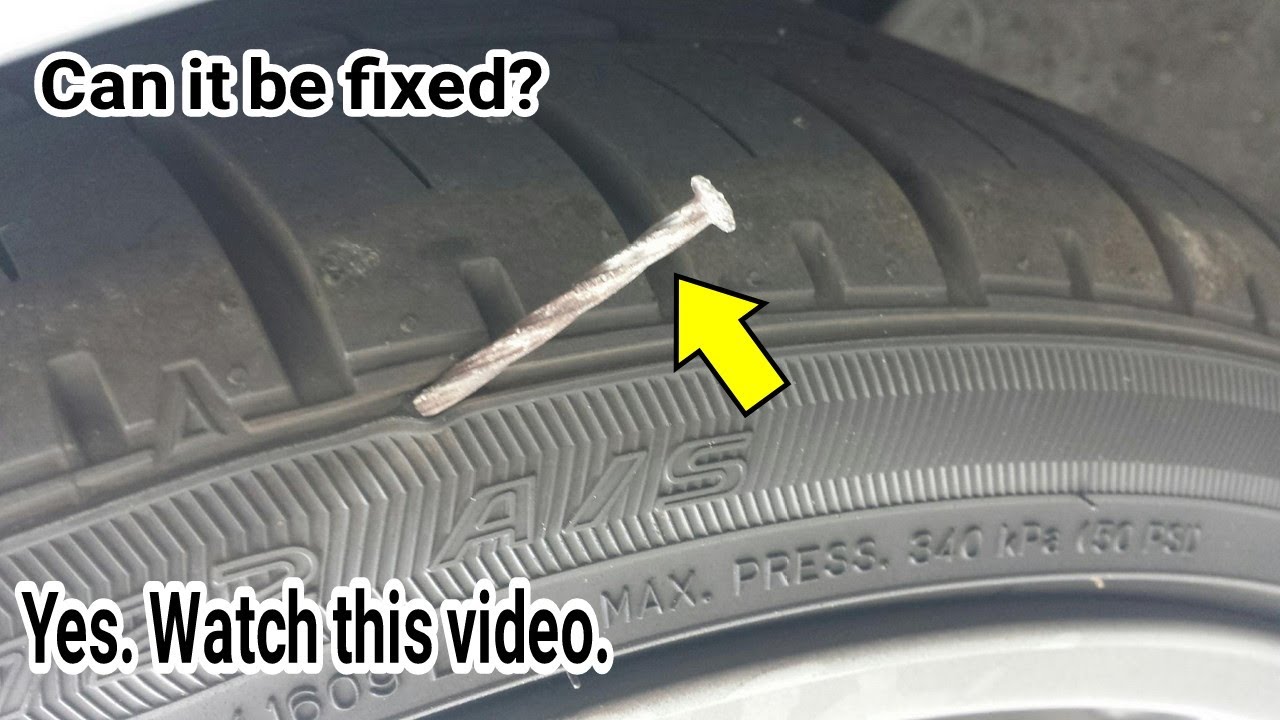
Image: www.youtube.com
1. Safety First: Essential Precautions
Before starting any tire repair, safety should be your top priority. Wear gloves and safety glasses to protect yourself from tire debris. Ensure your vehicle is parked on a level surface and securely chocked to prevent it from rolling.
2. Removing the Tire: Exposing the Puncture
Locate the flat tire and use a lug wrench to loosen the lug nuts, but do not remove them completely. Using a jack stand, carefully lift the vehicle, allowing enough space to slide the flat tire off its mounting bolts. Once the tire is removed, place it on a flat surface for patching.
3. Identifying the Puncture: Precision Locating
Inspect the tire thoroughly to locate the puncture. If it’s not immediately visible, inflate the tire slightly and submerge it in a tub of water. Look for air bubbles escaping from a specific point, indicating the puncture’s location.
4. Preparing the Puncture: Cleaning and Reaming
Once the puncture is identified, remove any debris or foreign objects from the hole. Using a tire reamer, carefully roughen the area around the puncture to create a clean and adhesive surface for the patch.
5. Applying the Patch: Securing the Seal
Select the appropriate patch based on the puncture’s size and location. Apply a thin layer of tire sealant around the puncture and insert the patch firmly into the hole. Ensure the patch is fully seated and there are no air leaks.
6. Reinstalling the Tire: Completing the Repair
Once the patch is applied, reinstall the tire onto its mounting bolts and hand-tighten the lug nuts. Use a torque wrench to tighten the lug nuts to the recommended specification, ensuring a secure fit.
7. Reinflation and Balancing: Restoring Performance
Inflate the tire to the recommended tire pressure and check for any leaks. If no leaks are detected, balance the tire using a tire balancing machine to ensure smooth and vibration-free driving.
Expert Advice and Tips for Effective Patching
Use Quality Materials: Invest in high-quality patches and tire sealant to ensure a durable and lasting repair.
Clean and Dry: Ensure the puncture area is clean and dry before applying the patch to enhance adhesion.
Follow Instructions Carefully: Read and follow the manufacturer’s instructions for the patch and sealant to ensure proper application.
Confirm Seal: After applying the patch, inflate the tire slightly and check for any air leaks to verify a secure seal.
FAQ: Common Questions Answered
Q: How long does a patched tire last?
A: The longevity of a patched tire depends on the severity of the puncture, the quality of the patch, and the driving conditions. With proper patching techniques and careful driving, a patched tire can last for several months or even years.
Q: Can I patch a tire myself?
A: Yes, patching a tire from the inside is a feasible DIY project with the right tools and knowledge. However, if you’re not comfortable or unsure about any step, it’s always advisable to consult a professional mechanic.
Q: Is it safe to drive on a patched tire?
A: Yes, driving on a properly patched tire is generally safe. However, it’s essential to have the tire inspected by a qualified mechanic to ensure a secure and durable repair.
How To Patch A Tire From The Inside
Conclusion: Take Charge of Your Ride
With the guidance provided in this comprehensive guide, you’re now equipped to patch a tire from the inside and regain control over your motoring adventures. Remember, regular tire inspections and maintenance can help prevent flats and ensure a smoother, safer driving experience. The next time you encounter a flat tire, don’t be daunted. Embrace the challenge, follow these steps, and patch it like a seasoned pro.
Would you like to know more about tire patching or other automotive maintenance topics? Explore our blog for a wealth of informative articles and expert advice on all things car-related.


