A Guide to Transform Ordinary Boxes into Extraordinary Masterpieces
Have you ever received a gift wrapped so meticulously that you almost hesitated to tear off the paper? The soft whisper of tissue paper, the delicate pleats, and the intricate ribbons can elevate a simple box into a work of art. In this article, we will guide you through the enchanting realm of gift-wrapping with tissue paper, transforming your presents into cherished keepsakes.

Image: www.lisapkg.com
The Origins of Tissue Paper
Tissue paper, with its silky texture and sheer translucence, has been a beloved wrapping material for centuries. Its origins can be traced back to China during the Han Dynasty (206 BC to 220 AD), where it was used for writing and painting. In the 19th century, tissue paper found a new purpose as a delicate lining for boxes, enhancing their protection and adding a touch of elegance. Today, tissue paper remains an essential element in the art of gift-wrapping.
The Perfect Canvas: Choosing the Right Tissue Paper
The choice of tissue paper can set the tone for your wrapped gift. Consider the occasion, the recipient’s personality, and the overall desired effect.
For a timeless and elegant touch, opt for classic white or ivory tissue paper. Delicate pastels create a soft and ethereal look, perfect for baby showers or romantic gestures. Vibrant hues and bold patterns add a touch of cheer and excitement, ideal for birthdays or holiday gifts.
Unveiling the Techniques: Essential Gift-Wrapping Methods
The Classic Method:
- Cut two pieces of tissue paper large enough to wrap around the box with overlapping edges.
- Place the box over one piece of paper and pull the paper taut, ensuring it fits snugly.
- Crease the paper around the edges of the box to create sharp folds.
- Overlap the other piece of paper and smooth it over the box, securing it with tape.
- To add a touch of sophistication, fold the excess tissue paper at the corners into neat triangles or pleats.
The Crinkled Method:
- Choose tissue paper that complements the gift.
- Crumple the tissue paper lightly to create a slightly distressed yet charming effect.
- Place the crumpled tissue paper over the box and gently shape it around the edges.
- Secure the paper with tape or ribbon.
- The crinkled texture adds a touch of whimsy and uniqueness to your gift.
The Pleated Method:
- Cut a large sheet of tissue paper in half.
- Fold each half accordion-style into equal pleats.
- Place the pleated paper over the box and secure it with tape or ribbon.
- The pleated effect creates an elegant and eye-catching presentation.
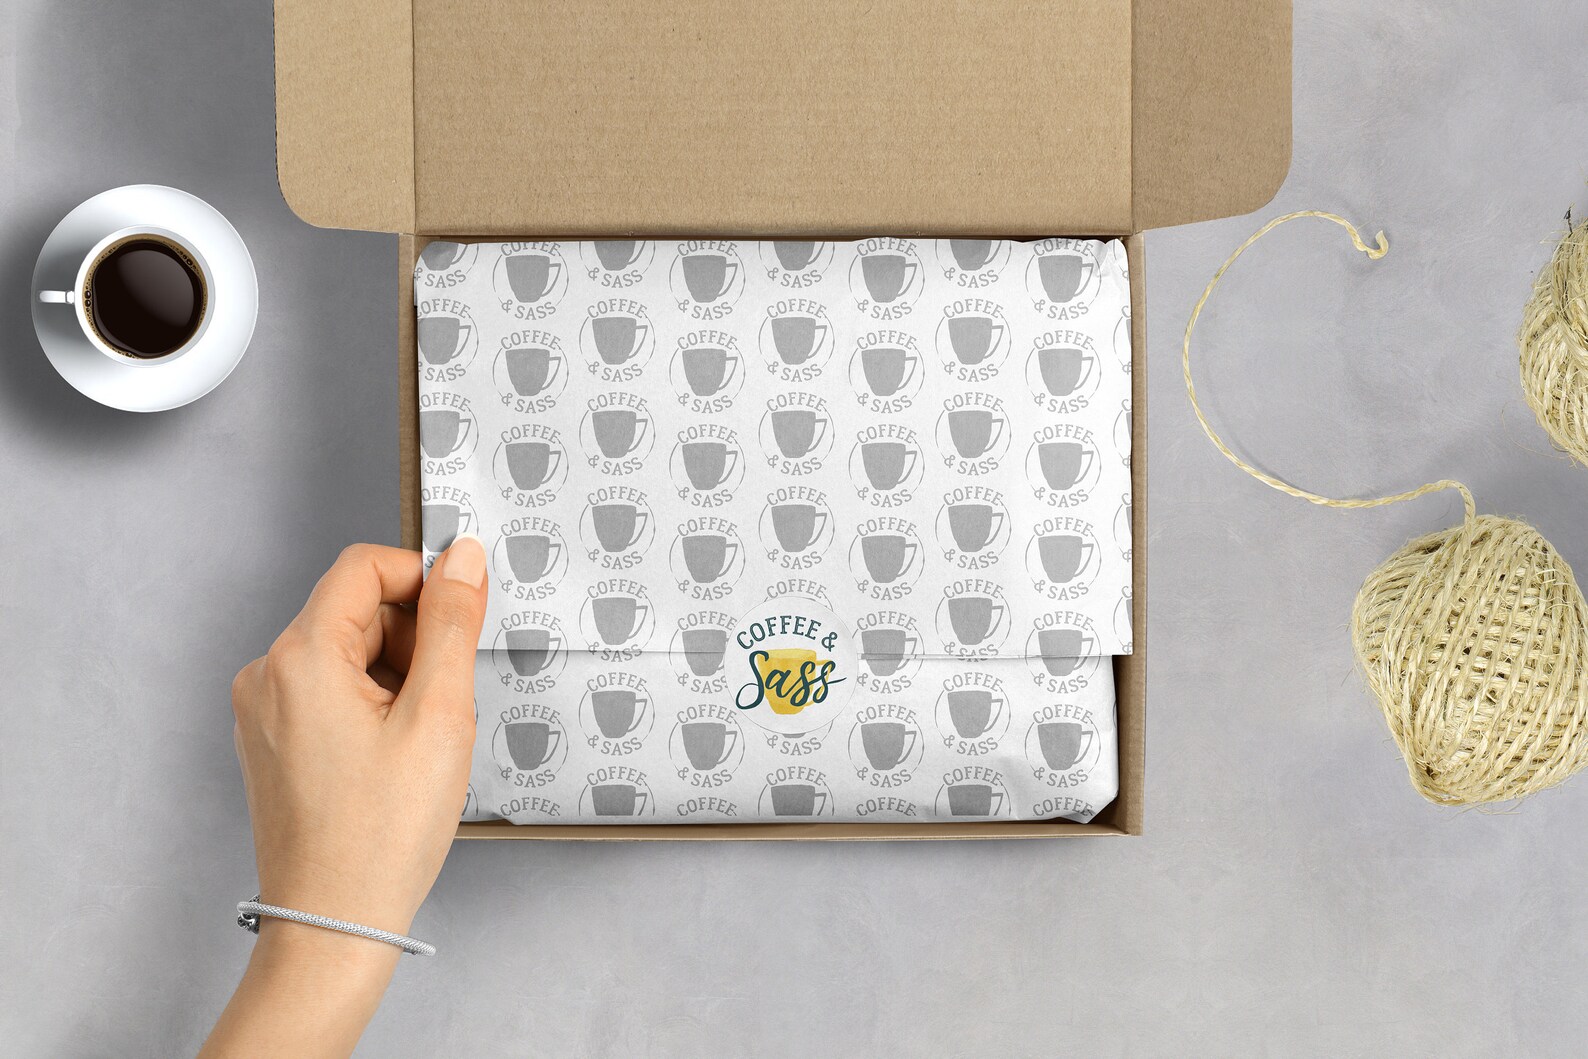
Image: www.etsy.com
Adding the Finishing Touches: Ribbon and Accessories
Once you have mastered the art of wrapping your box with tissue paper, it is time to add the finishing touches with ribbon and accessories.
Choose a ribbon that matches or complements the tissue paper, adding a touch of color and sophistication. Tie the ribbon securely around the box, creating a simple knot or an elaborate bow.
Additional accessories, such as tags, stickers, or ornaments, can further personalize your gift and express your care and attention to detail.
How To Wrap A Box With Tissue Paper
https://youtube.com/watch?v=gOqyKjXbpnA
Conclusion: The Power of Presentation
By embracing the art of wrapping a box with tissue paper, you not only enhance the presentation of your gift but also create a thoughtful and meaningful experience for the recipient. Tissue paper, with its versatility and charm, transforms ordinary boxes into cherished keepsakes that are destined to be cherished and remembered long after the gift has been unwrapped.


:max_bytes(150000):strip_icc()/142202371-5ab3dbf1ff1b78003633a0dd.jpeg?w=740&resize=740,414&ssl=1 "How to Set Up a Graco Pack ‘n Play – A Step-by-Step Guide")

