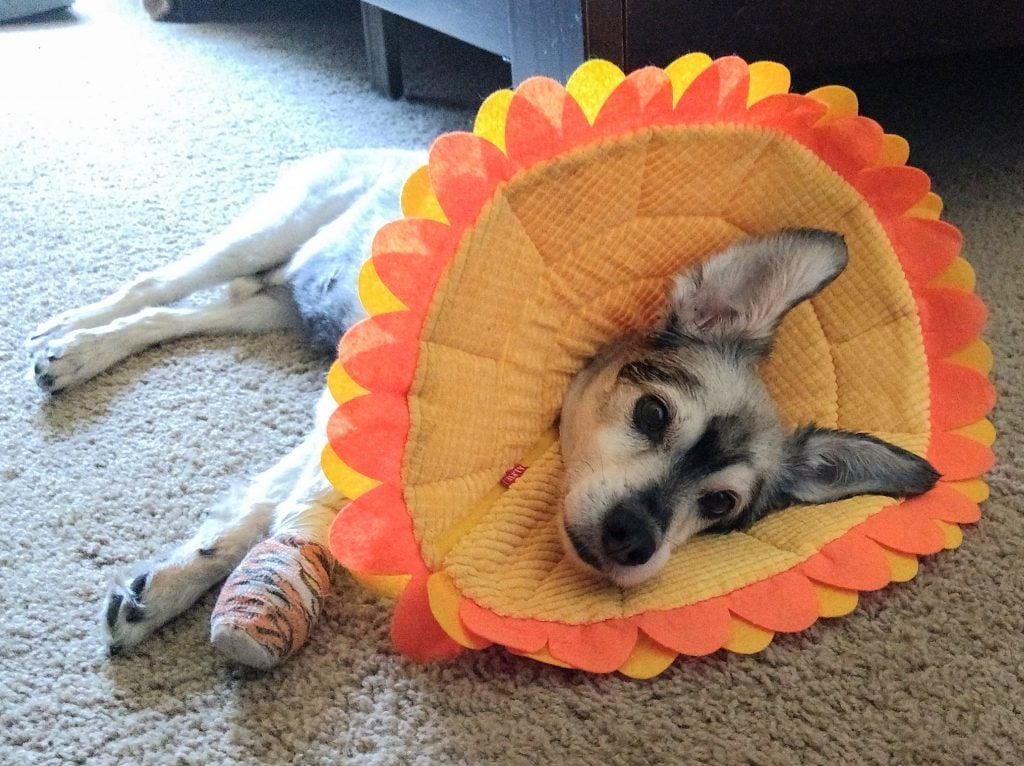
When our furry companions encounter unfortunate injuries or undergo surgeries, a protective Elizabethan collar, colloquially known as the “dog cone,” becomes a crucial aid in their recovery. However, these traditional cones can be uncomfortable and cumbersome for our beloved canines. That’s where the ingenuity of a homemade dog cone collar comes into play.

Image: ar.inspiredpencil.com
Creating a custom cone collar not only offers greater comfort and mobility but also empowers you as a pet owner to tailor the device specifically to your dog’s needs. In this comprehensive guide, we will delve into the benefits of homemade dog cone collars, explore the materials required, and provide step-by-step instructions to guide you through the crafting process.
Benefits of Homemade Dog Cone Collars
Enhanced Comfort: Traditional cones are often made of rigid plastic, which can rub against your dog’s skin, causing irritation and abrasions. Homemade collars, on the other hand, can be constructed from softer materials, such as fabric, foam, or inflatable vests, ensuring a more comfortable and less restrictive fit.
Improved Mobility: Rigid cones can significantly hinder a dog’s movement, making it difficult for them to eat, drink, and navigate their surroundings. Homemade collars often provide more flexibility, allowing dogs to perform these activities with greater ease.
Customized Fit: Every dog is unique, and so are their needs. By making the cone collar yourself, you have the freedom to adjust the size and shape to perfectly fit your dog’s body, ensuring optimal comfort and protection.
Cost-Effective Solution: Homemade dog cone collars can be crafted from inexpensive materials found at your local craft store, making them a budget-friendly alternative to commercial options.
Materials You’ll Need
- Fabric of your choice (e.g., cotton, fleece, flannel)
- Measuring tape or ruler
- Fabric scissors
- Needle and thread or sewing machine
- Foam (optional)
- Inflatable vest (optional)
- Elastic or Velcro (for securing the collar)
Step-by-Step Instructions
Step 1: Measure Your Dog’s Neck
Measure the circumference of your dog’s neck where the collar will sit. Add 2-4 inches to this measurement to allow for a comfortable fit and the overlap for securing the collar.
Step 2: Cut the Fabric
Cut two pieces of fabric to the length you measured, with a width of approximately 6-8 inches. Measure and cut a semicircle out of one end of each piece of fabric, aligning the center of the semicircle with the center of the fabric’s width.
Step 3: Sew or Assemble the Cone
Overlap the two pieces of fabric by a few inches and sew them together along the straight edges. Alternatively, you can use Velcro to attach the two sides, allowing for easy removal and adjustment.
Step 4: Add Support (Optional)
For additional support, you can insert a layer of foam between the two layers of fabric. Cut the foam to fit inside the cone and secure it with glue or stitches.
Step 5: Create a Chin Rest (Optional)
If you are using an inflatable vest, place it inside the cone and adjust it for a comfortable fit around your dog’s neck. You can also use a folded piece of soft fabric placed at the bottom of the cone to create a chin rest.
Step 6: Secure the Collar
Attach elastic or Velcro around the base of the cone, allowing for easy adjustment around your dog’s neck. Ensure it is snug enough to stay in place, but not so tight as to restrict movement.

Image: br.pinterest.com
How Can I Make A Dog Cone Collar
Conclusion
Crafting a homemade dog cone collar is a rewarding experience that not only empowers pet owners but also provides a more comfortable and customized recovery aid for their beloved companions. Armed with the knowledge and instructions provided in this comprehensive guide, you can now confidently embark on this project, ensuring your furry friend recovers with ease and comfort. Remember to prioritize your dog’s well-being throughout the process, and never hesitate to consult with a veterinarian if you have any questions or concerns.


:max_bytes(150000):strip_icc()/142202371-5ab3dbf1ff1b78003633a0dd.jpeg?w=740&resize=740,414&ssl=1)
