Delving into the world of Apple devices often necessitates signing into iCloud, the gateway to accessing a plethora of services and features that enhance your user experience. If you’re a Mac user, understanding how to sign into iCloud will empower you to harness the full potential of your device.

Image: picturemeta.blogspot.com
What is iCloud and Why is it Important?
iCloud is Apple’s cloud-based service that seamlessly synchronizes data across all your Apple devices, including Macs, iPhones, iPads, and Apple Watches. This interconnected network enables you to access your documents, photos, contacts, calendars, and other critical data from any of your devices. iCloud also offers features like iCloud Drive, which provides cloud storage for files, and iCloud Keychain, which securely stores passwords and other sensitive information.
Step 1: Navigate to System Preferences
The journey to signing into iCloud begins with navigating to System Preferences. Click on the Apple menu in the top-left corner of your Mac’s screen and select “System Preferences.”
Step 2: Locate the iCloud Panel
After entering System Preferences, scroll down the list of options and click on “iCloud.” This will open the iCloud panel, where you can configure iCloud settings and sign into your account.
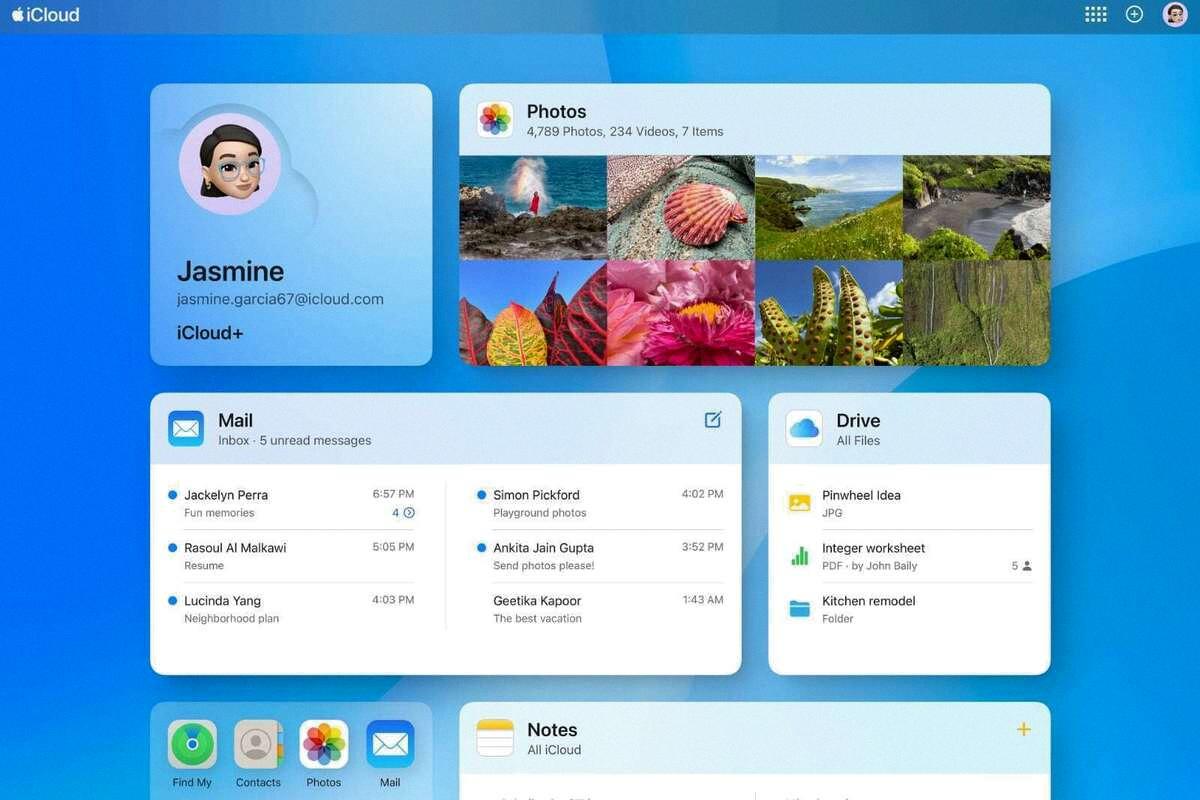
Image: www.devicemag.com
Step 3: Enter Your Apple ID and Password
In the iCloud panel, you’ll be prompted to enter your Apple ID and password. If you don’t have one, create an account by clicking on the “Create Apple ID” link.
Step 4: Choose the Features to Sync
After signing in, you’ll be presented with a list of iCloud features you can choose to sync across your devices. These include Mail, Contacts, Calendars, Photos, Reminders, Notes, and Backups. Select the features you want to sync by checking the corresponding boxes.
Step 5: Manage iCloud Storage
iCloud offers free storage up to 5GB, which is shared across all your Apple devices. If you need more storage, you can upgrade to a paid subscription by clicking on the “Manage” button in the iCloud panel.
Step 6: Merge Data or Keep Separate
When signing into iCloud for the first time, you’ll be prompted to choose whether you want to merge your iCloud data with existing data on your Mac or keep it separate. If you select the merge option, your iCloud data will replace any existing data on your Mac for the selected features.
Step 7: iCloud Keychain and Two-Factor Authentication
iCloud Keychain securely stores your passwords, credit card information, and other sensitive data. You’ll be prompted to set it up after signing into iCloud. Additionally, you can enable two-factor authentication for an extra layer of security by clicking on the “Security” tab in the iCloud panel.
How To Sign Into Icloud On A Mac
Conclusion
Signing into iCloud on your Mac opens the door to a unified and seamless experience across all your Apple devices. By following the steps outlined above, you can effortlessly integrate iCloud into your workflow and leverage its features to enhance your productivity and convenience. Remember to customize your iCloud settings to suit your specific needs and maximize your Apple ecosystem.

/GettyImages-1303637-two-way-mirror-57126b585f9b588cc2ed8a7b-5b8ef296c9e77c0050809a9a.jpg?w=740&resize=740,414&ssl=1 "Unveiling the Illusion – A Comprehensive Guide to Detecting Two-Way Mirrors")


