Whether you’re planning an epic road trip, reliving cherished memories, or organizing your digital music library, transferring your beloved tunes to a portable USB drive is an essential skill. In this comprehensive guide, we’ll illuminate the effortless steps you need to effortlessly move your musical treasures to your USB.

Image: www.youtube.com
Step 1: Gather Your Tools
You’ll need a compatible USB drive and a computer with a USB port. Ensure that your USB drive has enough storage space to accommodate your desired music collection.
Step 2: Connect Your USB Drive
Plug your USB drive into an available USB port on your computer. Your computer should automatically detect the device and assign it a drive letter.
Step 3: Open Your Music Management Software
Launch the music management software on your computer, such as Windows Media Player, iTunes, or MusicBee. This software will allow you to manage your music collection and transfer files to and from your USB drive.
Step 4: Import Music
Locate the music files you want to transfer to your USB drive. You can drag and drop individual songs or entire folders into the music management software. The software will import the music into its library.
Step 5: Create a Playlist (Optional)
If you plan to transfer multiple songs, consider organizing them into a playlist. This will make it easier to listen to your music on your USB drive later. To create a playlist, click the “New Playlist” button in your music management software, give it a name, and drag and drop the desired songs into the playlist.
Step 6: Connect and Transfer
Navigate to the “Devices” section of your music management software. Your USB drive should be listed as a connected device. Simply click and drag your playlist or selected songs onto the USB drive icon. The software will start transferring the music to your USB drive.
Step 7: Eject and Enjoy
Once the music has been successfully transferred, right-click on the USB drive icon and select “Eject.” This will safely disconnect the USB drive from your computer. You can now unplug the USB drive and connect it to any compatible device to enjoy your music.
Additional Tips for Music Lovers
-
Use a high-quality USB drive: Cheap USB drives can be unreliable and slow. Opt for a drive from a reputable brand with a solid warranty.
-
Consider storage space: Make sure your USB drive has enough space to store your music collection. If you have an extensive library, you may need to use a larger capacity drive.
-
Organize your music: Create folders or playlists to organize your music on the USB drive. This will make it easier to find your favorite songs.
-
Back up your music: Keep a backup of your music collection on your computer in case your USB drive fails.
Embrace the Power of Music
With your music lovingly transferred to your USB drive, you can liberate the joy of your favorite tunes wherever life takes you. Whether you’re lost in a bustling city or traversing the tranquil countryside, your USB drive becomes a faithful companion, carrying the soundtrack of your emotions and memories. Let the music flow and paint the canvas of your life with vibrant melodies.
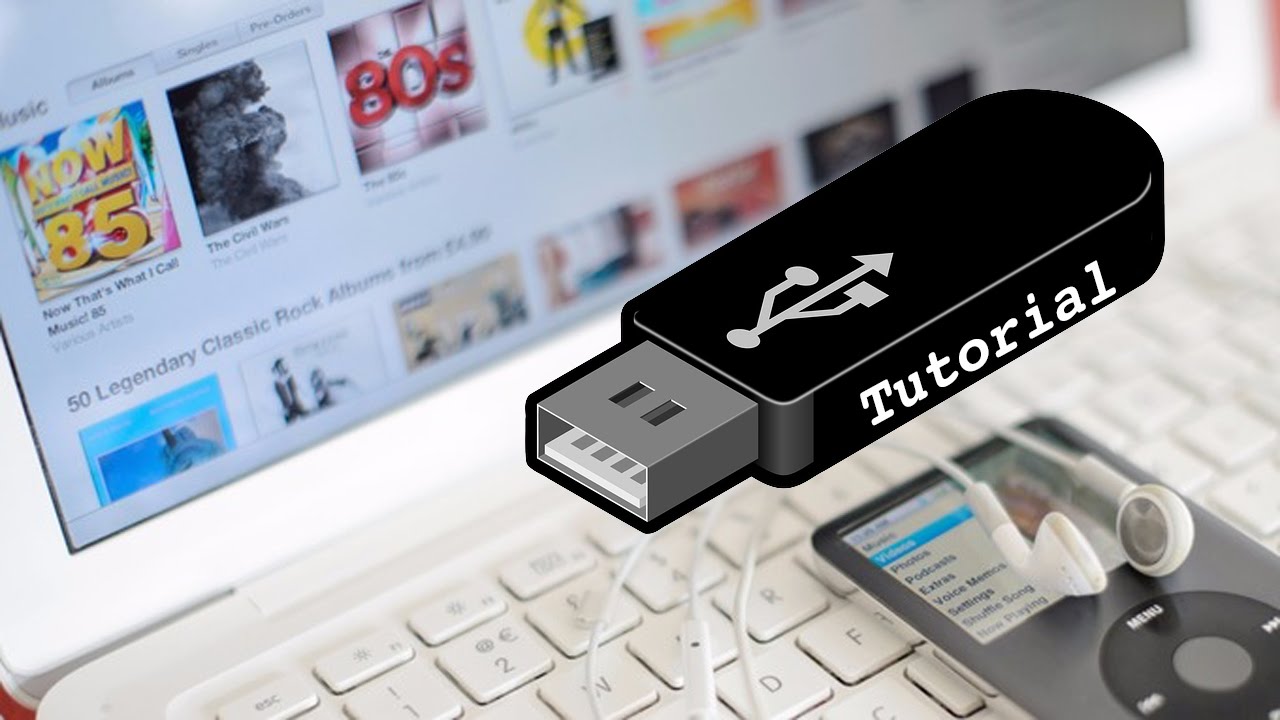
Image: gasemx.weebly.com
How Do You Put Music On A Usb


/GettyImages-1303637-two-way-mirror-57126b585f9b588cc2ed8a7b-5b8ef296c9e77c0050809a9a.jpg?w=740&resize=740,414&ssl=1 "Unveiling the Illusion – A Comprehensive Guide to Detecting Two-Way Mirrors")


