Embark on a captivating artistic adventure as we explore the wonders of drawing starfish, those radiant denizens of the ocean’s depths. With our step-by-step guide, you’ll transform your blank canvas into a vibrant representation of these captivating creatures, capturing their intricate details and mesmerizing beauty.

Image: www.adept24.ru
Why Draw Starfish?
Starfish, also known as sea stars, captivate us with their unique morphology and radiant colors. Drawing them not only enhances our artistic skills but also fosters an appreciation for the marine ecosystem. Preserving these marine treasures through art ensures their legacy as symbols of the ocean’s untamed beauty.
Materials You’ll Need:
- Drawing paper or sketchbook
- Pencil and eraser
- Black fine-tip pen or pen and ink
- Color markers or crayons
- Optional: reference photos of starfish
Step 1: Outline the Basic Shape
Begin with a soft pencil sketch. Draw a simple oval shape as the central body of the starfish. This oval will serve as a foundation for the star’s arms.
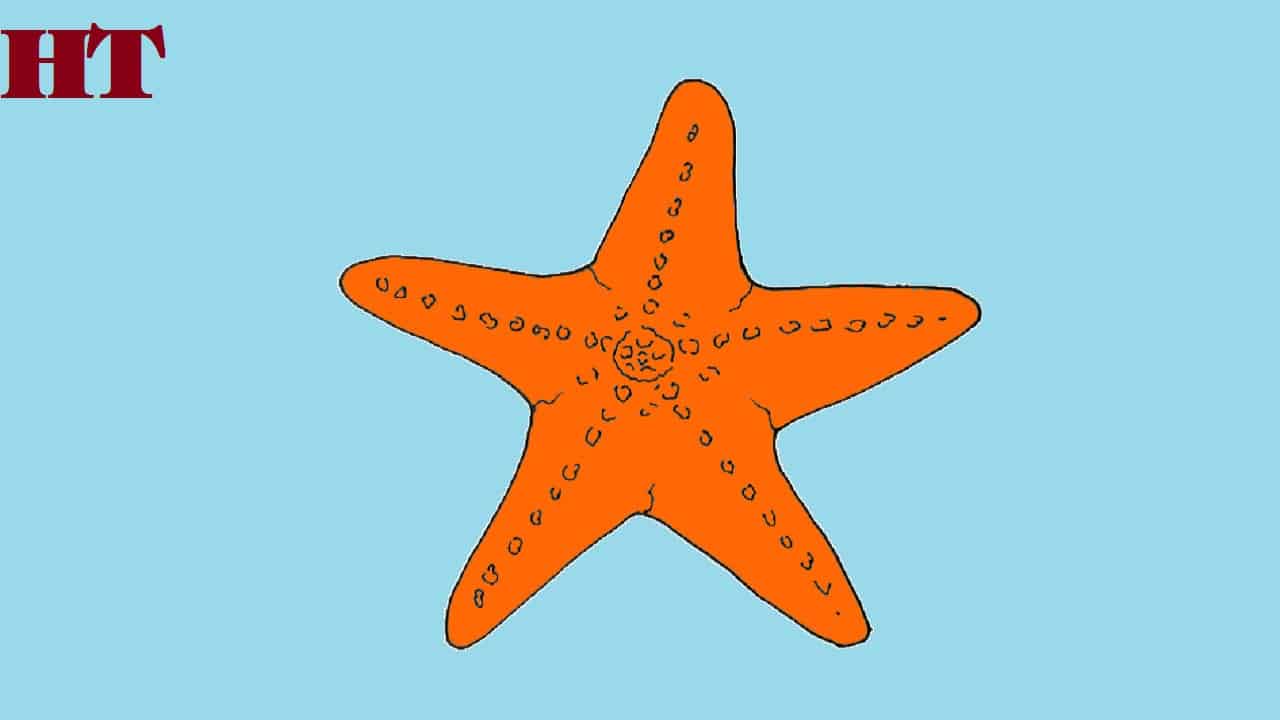
Image: htdraw.com
Step 2: Divide the Arms
Gently divide the oval into five equal sections. Start by drawing two vertical lines intersecting at the center of the oval, forming a cross. Then, add two diagonal lines extending from the center to the circumference of the oval, dividing it into equal quarters.
Step 3: Sketch the Arm Structure
Using the dividing lines as guides, lightly sketch the outline of the starfish’s five arms. The arms should taper slightly towards the tips, resembling teardrop-shaped pyramids.
Step 4: Refining the Arms
Add texture and definition to the arms by drawing short, feathery lines along their sides. This mimics the appearance of the starfish’s tube feet, tiny structures that aid in locomotion and feeding.
Step 5: Add Details
Embellish the starfish’s body with small circular or oval shapes to represent the madreporite, a porous plate involved in the water vascular system. Optionally, add subtle patterns or textures to the surface of the body for added interest.
Step 6: Inking and Outlining
With a fine-tip pen, carefully trace over your pencil sketch, defining the contours of the starfish. This step emphasizes the details and creates a polished look. Alternatively, you can achieve a more fluid effect by using a dip pen and ink.
Step 7: Bring on the Colors
Unleash your creativity and bring life to your starfish with vibrant colors. Use color markers or crayons to fill in the arms and body, creating patterns and shades that mimic real-life species. Experiment with blending and layering for added depth.
Step 8: Add Highlights and Shading
Elevate your drawing by incorporating highlights and shading. Use white or light-colored markers or pencils to highlight the raised areas and edges of the starfish’s body and arms. Add gentle shadows using darker shades to create a sense of depth and dimension.
How To Draw Starfish Step By Step
https://youtube.com/watch?v=fK2JWYdhMcQ
Conclusion:
Congratulations on mastering the art of drawing starfish! Through this comprehensive guide, you have captured the essence of these fascinating marine creatures, preserving their beauty on paper. Share your creations, inspire others, and continue to explore the captivating realm of marine art. Embrace the aquatic wonders that ignite your imagination, and keep your artistic journey overflowing with creativity!


:max_bytes(150000):strip_icc()/142202371-5ab3dbf1ff1b78003633a0dd.jpeg?w=740&resize=740,414&ssl=1 "How to Set Up a Graco Pack ‘n Play – A Step-by-Step Guide")

