Introduction

Image: pgpwolyxdp.blogspot.com
In the labyrinth of homeownership, the unsung hero resides in the basement – your trusty sump pump. This guardian angel tirelessly battles against water intrusion, ensuring your abode remains dry and safe. However, for optimal protection, arming your sump pump with a check valve is essential. This little device acts as a gatekeeper, preventing water from backflowing into your home, safeguarding you from potential flooding.
Unveiling the Check Valve: A Sentinel Against Water’s Intrusion
A check valve, often referred to as a backflow preventer, is an indispensable component in your sump pump’s arsenal. Its ingenious design allows water to flow in one direction only, effectively blocking its return. When the sump pump engages, the check valve opens, allowing water to escape; upon completion, it swiftly closes, hindering any potential backflow.
Step-by-Step Installation: A Journey Towards Watertight Security
Embarking on the installation of a check valve is a straightforward endeavor, requiring minimal time and effort. Follow these steps meticulously to ensure your sump pump operates flawlessly:
-
Disconnect the Power: Safety first! Before handling any electrical components, switch off the power supply to the sump pump.
-
Disconnect the Discharge Pipe: Locate the discharge pipe connected to the sump pump’s outlet. Carefully disconnect it by unscrewing the coupler or clamp.
-
Insert the Check Valve: Take the check valve and insert it into the discharge pipe, ensuring the arrow marked on the valve points away from the sump pump.
-
Reattach the Discharge Pipe: Align the discharge pipe with the check valve and securely fasten it using the coupler or clamp.
-
Restore Power: Turn the power supply back on and test the sump pump to verify its proper operation with the check valve installed.
Additional Tips: Enhancing Your Sump Pump’s Performance
Beyond installing a check valve, consider these additional measures to maximize your sump pump’s efficiency:
-
Regular Maintenance: Perform periodic inspections and cleanings to remove any debris or obstructions that could hinder the pump’s operation.
-
Battery Backup: Invest in a battery backup system to ensure your sump pump continues operating during power outages, preventing potential water damage.
-
Proper Sump Basin Size: Ensure the sump basin is large enough to accommodate the volume of water entering during heavy rainfall.
Conclusion: A Fortress Against Water’s Onslaught
Installing a check valve on your sump pump is a simple yet invaluable step towards protecting your home from water damage. By following the outlined steps and implementing the additional tips, you’ll empower your sump pump to effectively combat water intrusion, giving you peace of mind during inclement weather. Remember, a well-equipped sump pump safeguards your abode, creating a haven of comfort and security for you and your loved ones.
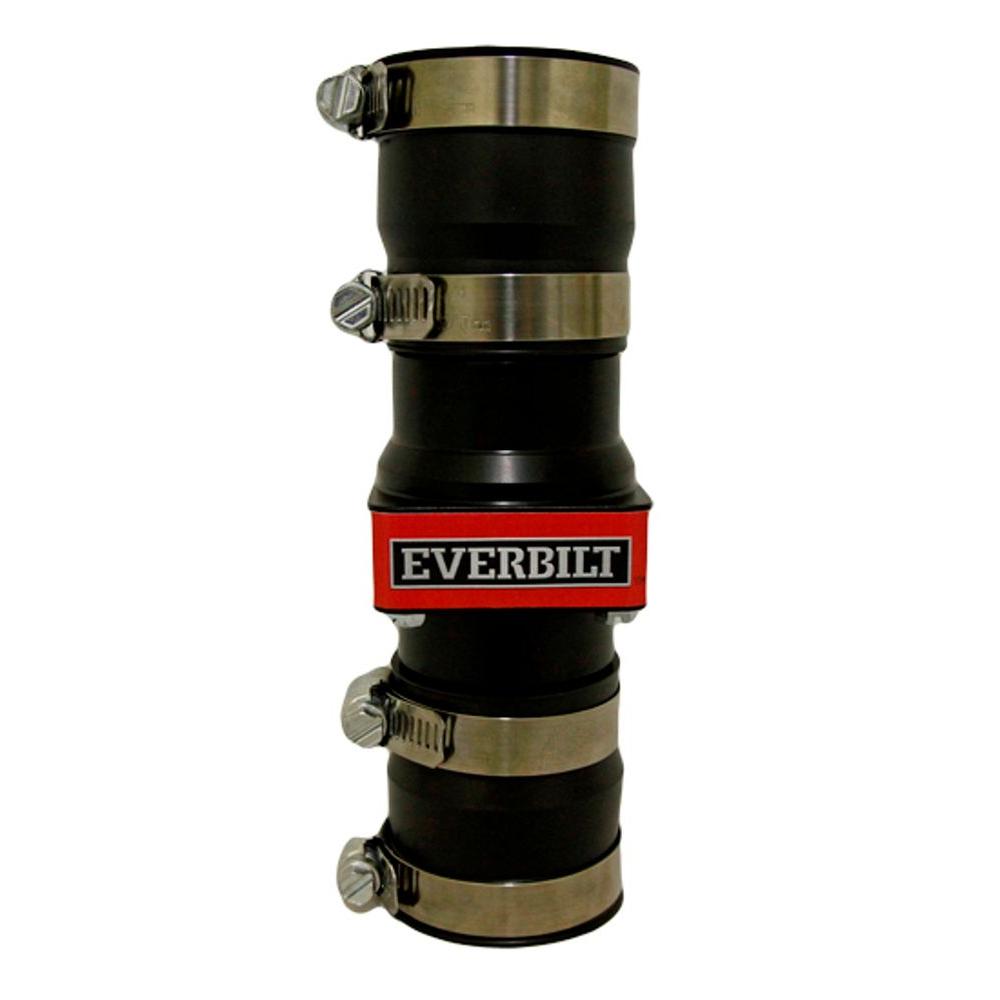
Image: www.homedepot.com
How To Install Check Valve On Sump Pump


/GettyImages-1303637-two-way-mirror-57126b585f9b588cc2ed8a7b-5b8ef296c9e77c0050809a9a.jpg?w=740&resize=740,414&ssl=1 "Unveiling the Illusion – A Comprehensive Guide to Detecting Two-Way Mirrors")


