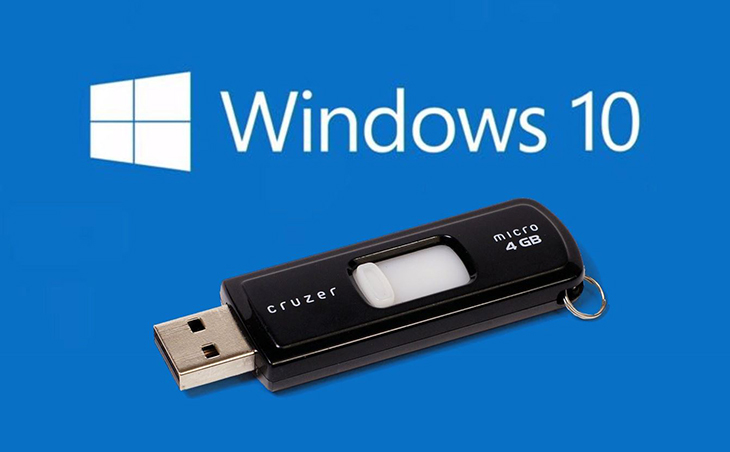
In today’s digital age, we often find ourselves with countless pictures stored on our computers. Whether it’s precious memories, treasured moments, or important documents, transferring these images to a USB flash drive can be essential for backup, storage, or sharing purposes. This article will provide a step-by-step guide to help you seamlessly download pictures from your computer to a USB drive.

Image: hacom.vn
Selecting the Right USB Drive
Before embarking on the transfer process, it’s crucial to choose a USB flash drive that meets your specific needs. Consider the storage capacity required for your images, as well as the speed and compatibility of the USB drive. Opt for a drive that offers sufficient storage space and fast data transfer rates to ensure a smooth and efficient transfer.
Step-by-Step Guide to Downloading Pictures
Step 1: Insert USB Drive
Connect your USB flash drive to an available USB port on your computer.
Step 2: Open File Explorer (Windows) or Finder (Mac)
Locate and open the File Explorer application on Windows or Finder on Mac.
Step 3: Identify and Select Pictures
Navigate to the folder on your computer where the desired pictures are stored. Select the images you wish to transfer by holding down the “Ctrl” (Windows) or “Command” (Mac) key while clicking on each image.
Step 4: Copy or Move Pictures
Right-click on the selected images and select “Copy” or “Cut” from the menu. This action will copy or move the images to your clipboard.
Step 5: Access USB Drive
In File Explorer or Finder, locate the USB flash drive that you inserted earlier. Open the USB drive folder.
Step 6: Paste Pictures
Right-click within the USB drive folder and select “Paste” from the menu. This will transfer the images from your clipboard to the USB drive.
Step 7: Verify Transfer
Wait for the transfer process to complete. Once it’s finished, open the USB drive folder to verify that all the selected pictures have been downloaded.
Tips and Expert Advice
1. Use High-Speed USB Drives:
Consider using USB 3.0 or USB 3.1 flash drives for faster transfer speeds, especially if you’re transferring large amounts of data.
2. Compress Images Before Transfer:
If storage space is a concern, consider compressing the images before transferring them to the USB drive. This can significantly reduce the amount of space needed.
3. Transfer Multiple Files Simultaneously:
Select multiple pictures at once to transfer them all at the same time, saving you time and effort.

Image: tecno-adictos.com
Frequently Asked Questions
Q: Can I use a micro USB to transfer pictures?
A: Yes, you can use a micro USB adapter to connect a micro USB flash drive to your computer. However, compatibility and data transfer speeds may vary.
Q: What file formats are supported by USB drives?
A: USB drives generally support common image file formats such as JPEG, PNG, TIFF, and GIF.
Q: Is it safe to remove the USB drive immediately after transferring pictures?
A: No, it’s recommended to wait for the USB drive’s access light to turn off, indicating that the data transfer is complete, before removing it safely.
How To Download Pictures From Computer To Usb
Conclusion
Downloading pictures from your computer to a USB drive is a straightforward process that enables you to back up, store, or share your images conveniently. By following the steps outlined in this article and incorporating the tips and expert advice provided, you can transfer your pictures seamlessly. Whether you are a novice user or an experienced tech enthusiast, this guide will help you achieve your goal efficiently.
So, are you ready to download pictures from your computer to a USB drive? Give it a try today and experience the ease and convenience of managing your image files. Share your experiences and ask any additional questions in the comments section below.


/GettyImages-1303637-two-way-mirror-57126b585f9b588cc2ed8a7b-5b8ef296c9e77c0050809a9a.jpg?w=740&resize=740,414&ssl=1)


