Introduction

Image: natomasunified.org
In today’s digital age, staying seamlessly connected to work from anywhere is essential. With the advent of smartphones, having access to your work email on the go has become indispensable. This detailed guide will walk you through the effortless setup process of your work email on your iPhone, ensuring you’re always just a tap away from crucial business communications.
Understanding the Process
Before diving into the setup steps, let’s understand the different methods available. Depending on your company’s email system, you can set up your work email using the native Mail app, the Outlook app, or a third-party email app. Each method has its advantages, and we’ll explore them in more detail later.
Using the Native Mail App
- Gather Account Details: Collect your work email address, password, and any server settings provided by your organization’s IT department.
- Open Mail App: Launch the pre-installed Mail app on your iPhone.
- Add Account: Tap on “Accounts” and then “Add Account.”
- Select Account Type: Choose “Exchange” from the list of account options.
- Enter Account Details: Input your work email address, password, and any necessary server settings.
- Enable Exchange Features: Make sure to enable “Mail,” “Contacts,” and “Calendars” to sync your work data seamlessly.
- Tap “Next” and “Done”: The Mail app will verify your account details and complete the setup.
Using the Outlook App
- Install Outlook App: Download the Outlook app from the App Store if you haven’t already.
- Add Account: Open the Outlook app and tap on the “Add Account” button.
- Select Work Account: Choose “Work or school account” from the available options.
- Enter Account Details: Enter your work email address, password, and any requested server settings.
- Configure Advanced Settings: If prompted, provide any necessary advanced settings provided by your IT department.
- Tap “Sign in”: Outlook will verify your account and complete the setup.
Customizing Your Setup
Once your work email is set up, you can customize the settings to your preference. Adjust the font size, choose custom notifications for specific senders or subject lines, or set up auto-replies when you’re away from your desk.
Conclusion
Setting up work email on your iPhone is a straightforward process that takes only a few minutes. By following these steps, you can stay connected to your work communications anytime, anywhere. Whether you opt for the native Mail app, the Outlook app, or a third-party solution, choosing the method that best aligns with your needs and preferences is key to seamless productivity.
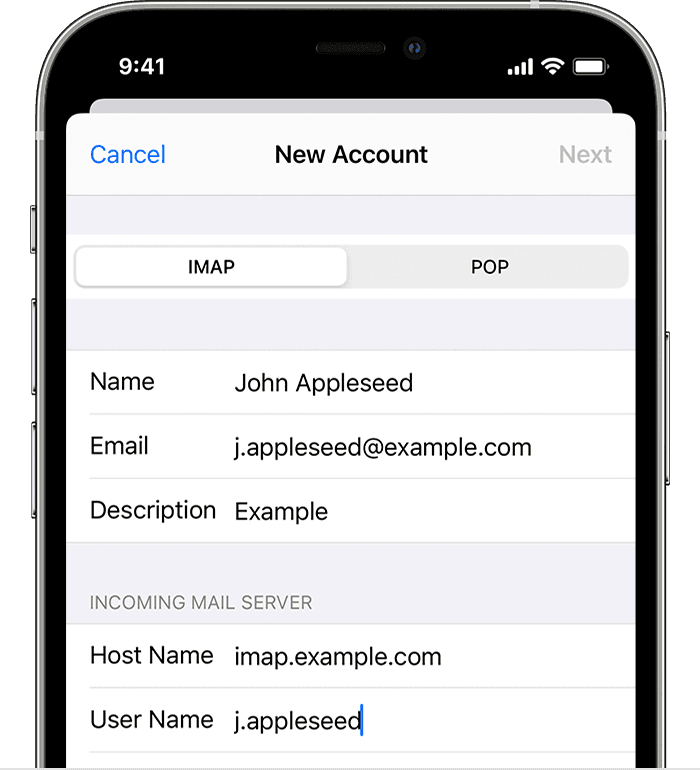
Image: discussions.apple.com
How Do I Set Up Work Email On Iphone


