Introduction
Transforming your concrete floor into a captivating masterpiece can seem daunting, but with the right guidance, it’s an achievable endeavor. Tiles, with their endless designs and durability, present an exceptional canvas to elevate your living spaces. Embark on this comprehensive journey as we delve into the intricacies of tiling concrete floors, unraveling every step to unveil a stunning result.

Image: howtospecialist.com
Before we delve into the practical aspects, it’s crucial to grasp the significance of proper surface preparation. Concrete, by nature, can harbor moisture, which poses a significant challenge for successful tile adhesion. Hence, it’s imperative to ensure that the surface is free of moisture, its notorious nemesis. Patience and thorough preparation will lay the foundation for a long-lasting and captivating tiled floor.
Concrete Floor Tiling: Unveiling the Secrets
1. Substrate Preparation: The Foundation for Excellence
Meticulous substrate preparation sets the stage for a flawless tiling project. Begin by removing any existing floor coverings, exposing the bare concrete surface. Thoroughly clean the concrete with a detergent solution, effectively removing dirt, grease, and other impurities that could compromise adhesion. Allow ample drying time to ensure complete evaporation of moisture.
Next, level the concrete using a self-leveling compound or by grinding down high spots. This step is paramount for a smooth and even surface, preventing tiles from rocking or cracking. If the floor is moisture prone, apply a vapor barrier to mitigate the risk of moisture seeping through and causing tile damage.
2. Tile Selection: Envisioning the Perfect Match
With an array of tiles available, selecting the perfect ones can be an exhilarating adventure. Consider factors such as the intended room’s purpose, traffic volume, and desired aesthetic. For areas with heavy footfall, opt for durable tiles like porcelain or ceramic. Natural stone tiles, while alluring, require more maintenance and are prone to scratching.
When it comes to size and shape, larger tiles create the illusion of a more spacious area, while smaller tiles offer a classic charm. Experiment with different patterns and layouts to find the one that aligns with your design vision. Don’t forget to purchase extra tiles to accommodate cuts, breakages, and future repairs.

Image: phenergandm.com
3. Layout Planning: Orchestrating Harmony
Before applying any adhesive, meticulously plan the tile layout to minimize cuts and achieve a balanced visual impact. Start by finding the focal point of the room, often the center or an architectural feature. Using chalk lines, mark perpendicular guidelines to guide tile placement and ensure symmetrical alignment.
For intricate patterns or designs, create a template using cardboard or tile spacers to visualize the final result. This extra step will save you time and effort, ensuring a flawless execution.
4. Adhesive Application: The Bonding Agent
The adhesive you choose will play a pivotal role in the longevity of your tiled floor. Select a mortar or thin-set adhesive specifically designed for concrete and your chosen tile type. Avoid pre-mixed adhesives, as they can dry out quickly and compromise adhesion. Carefully follow the manufacturer’s instructions for mixing and applying the adhesive.
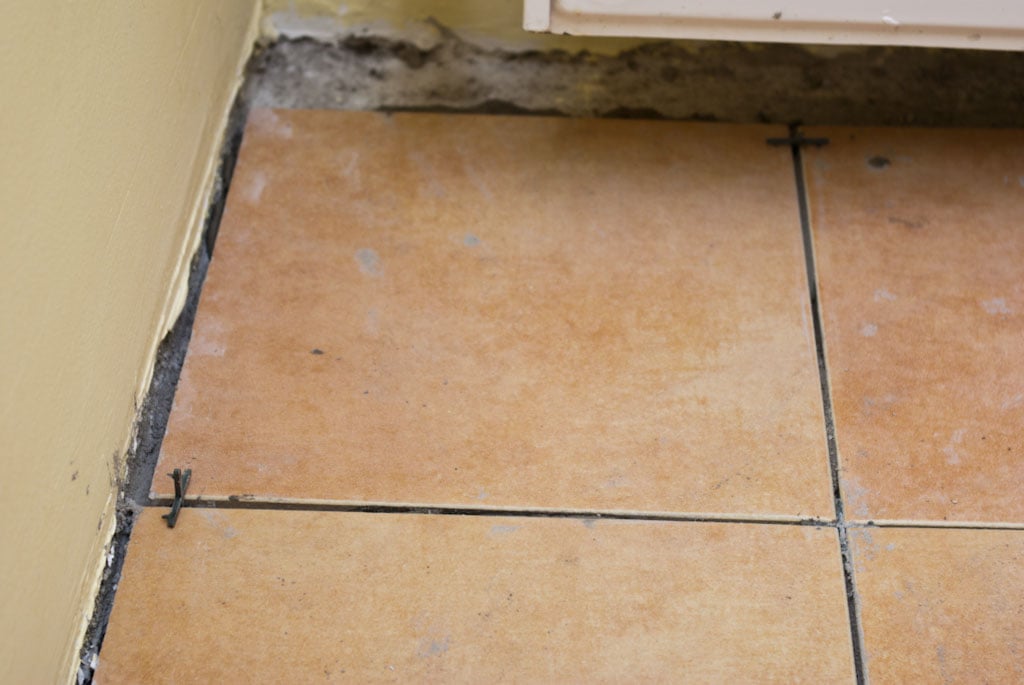
Using a notched trowel, spread the adhesive evenly over a small section of the concrete. Gently press each tile into the adhesive, twisting slightly to ensure proper bonding. Use tile spacers to maintain consistent spacing and prevent tiles from shifting.
5. Grouting and Finishing Touches: Sealing Perfection
Once the tiles are securely in place, it’s time to fill the joints with grout. Select a grout color that complements the tiles and enhances the overall design. Mix the grout according to the manufacturer’s instructions and apply it using a grout float, working diagonally across the tiles.
Allow the grout to dry partially and use a damp sponge to remove any excess. Clean the tiles thoroughly with a damp cloth and allow them to dry completely. To enhance the durability and longevity of your tiled floor, apply a penetrating sealer to protect it from stains and moisture.
How To Put Tiles On Concrete Floor
https://youtube.com/watch?v=6D9YwiL60JM
Conclusion
Congratulations! You’ve successfully navigated the art of tiling a concrete floor, transforming it into a captivating canvas that exudes both durability and visual allure. This accomplishment is a testament to your patience, meticulousness, and the invaluable knowledge you’ve acquired throughout this comprehensive guide.
As you revel in the beauty of your tiled masterpiece, don’t hesitate to share your experiences and inspiring creations with the world. Continue your exploration of home improvement ventures, knowing that the insights you’ve gained will empower you to conquer future projects.


/GettyImages-1303637-two-way-mirror-57126b585f9b588cc2ed8a7b-5b8ef296c9e77c0050809a9a.jpg?w=740&resize=740,414&ssl=1)


