Title: Unlock the Joy of Crafting: An Enchanting Guide to Creating Personalized Perler Bead Keychains

Image: ar.inspiredpencil.com
Introduction:
In the realm of DIY artistry, where creativity dances with nostalgia, we embark on an adventure that will ignite your imagination and leave a lasting impression. Perler beads, those vibrant and versatile gems, invite us to weave a tapestry of memories, adorning our keys with unique and heartfelt creations. Let’s venture into the enchanting world of crafting a perler bead keychain, a tangible reminder of cherished moments and a cherished expression of self.
As we delve into the intricacies of this delightful craft, you’ll discover how effortless it is to transform your vision into a tangible masterpiece. With each bead you place, you’ll weave a story, adding depth and character to your creation. Whether it’s a whimsical animal, a cherished memory, or an inspiring quote, the possibilities are bound only by the limits of your imagination.
Step-by-Step Guide to Perler Bead Keychains:
1. Gather Your Materials:
- Perler beads in an array of colors
- Perler pegboard (square or hexagonal)
- Tweezers or pen cap for bead placement
- Iron and ironing paper
2. Create Your Design:
- Unleash your creativity by designing an image on a piece of graph paper or using online templates.
- Plan the placement of each bead, carefully selecting colors and patterns.
3. Arrange Beads on Pegboard:
- Place the beads on the pegboard, following your design. Use tweezers or a pen cap to ensure precise placement.
4. Ironing the Creation:
- Cover the beads with ironing paper and iron on low heat, applying gentle pressure.
- Iron in circular motions to evenly distribute the heat.
- Allow the project to cool completely.
5. Finishing Touches:
- Remove the ironed creation from the pegboard.
- Attach a keychain to complete your personalized accessory.
Expert Insights and Actionable Tips:
- To prevent beads from sticking to the pegboard, lightly dust it with cornstarch before placing beads.
- Experiment with different bead patterns and arrangements to achieve unique and captivating effects.
- Use a light touch when ironing to avoid melting the beads.
Conclusion:
As you embark on this enchanting journey of crafting perler bead keychains, remember that the true magic lies in the personal touch you add. Each bead, meticulously placed, becomes a testament to your imagination and a reflection of your unique style. Embrace the joy of creating something truly your own, something that will not only adorn your keys but also warm your heart with memories to cherish.
With this newfound knowledge and a dash of inspiration, you are now empowered to craft personalized accessories that will spark conversations and spread joy. Let your creativity soar, and may your perler bead creations become cherished keepsakes, treasured for years to come.
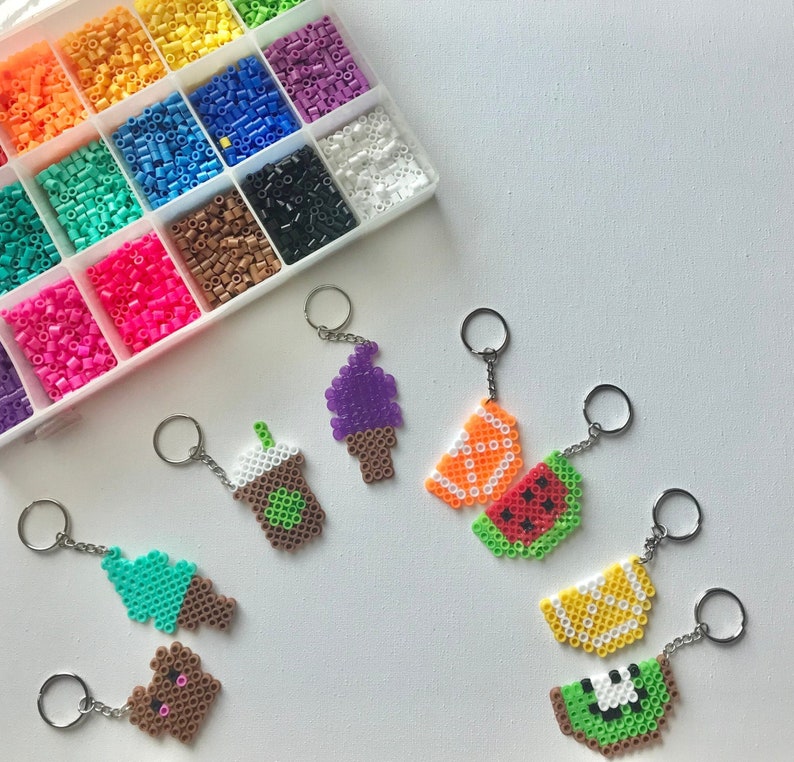
Image: mungfali.com
How To Make A Perler Bead Keychain


/GettyImages-1303637-two-way-mirror-57126b585f9b588cc2ed8a7b-5b8ef296c9e77c0050809a9a.jpg?w=740&resize=740,414&ssl=1 "Unveiling the Illusion – A Comprehensive Guide to Detecting Two-Way Mirrors")


