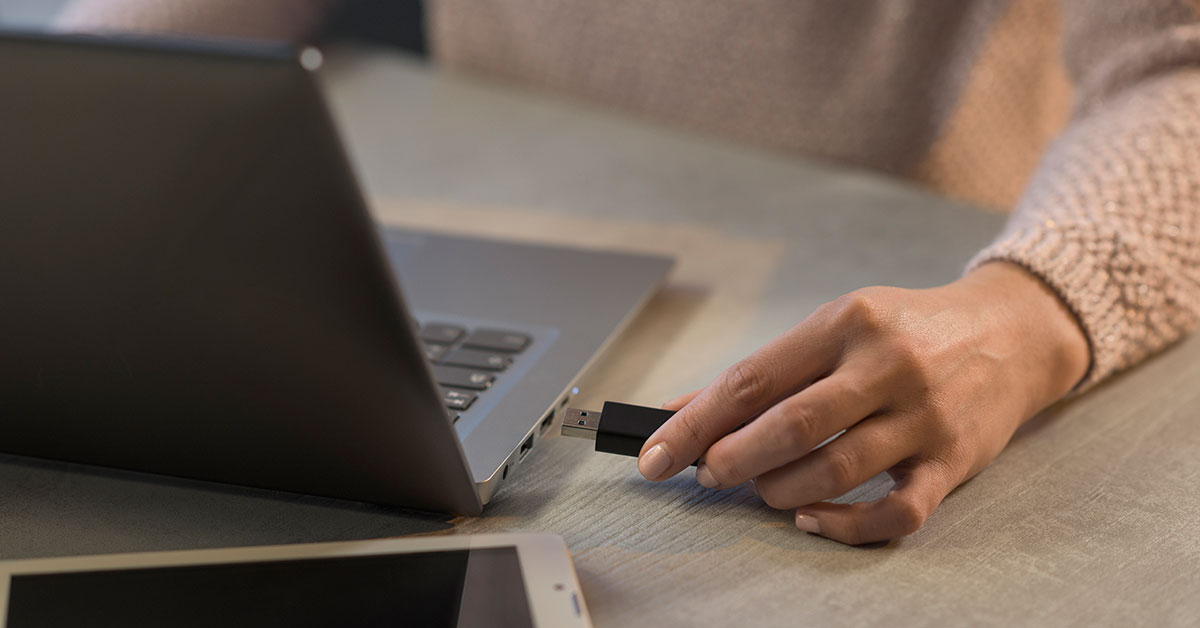
In an era where digital memories flood our lives, the preservation and sharing of photographs have become increasingly important. Whether it’s capturing special moments, preserving family history, or simply organizing your digital treasures, transferring pictures from your computer to a USB flash drive offers a convenient and secure solution.

Image: www.zoopy.com
In this comprehensive guide, we will delve into the intricacies of transferring pictures from your computer to a USB flash drive. We’ll cover essential steps, provide expert tips, and address frequently asked questions to simplify the process and ensure that your precious memories are safeguarded.
**Connecting and Preparing Your USB Flash Drive**
The first step in transferring pictures to a USB flash drive is to physically connect it to your computer. Once connected, your computer will typically recognize the drive automatically and assign it a drive letter (e.g., F: or G:). If for any reason the drive is not recognized, you may need to update your computer’s drivers or consult the manufacturer’s instructions.
Before transferring pictures, it’s advisable to ensure that your USB flash drive has sufficient storage capacity. The number of pictures you can store depends primarily on the size of the files and the capacity of the drive. It’s always recommended to choose a drive with ample storage space to avoid potential storage limitations.
**Selecting and Copying Pictures**
Locate the pictures you wish to transfer on your computer. You can browse through folders, such as your Pictures or Downloads folder, to find the specific images you want. Once you have identified the pictures, select them by clicking on each filename or using the **Ctrl** key to select multiple files at once.
With the pictures selected, right-click and hover over the **Send to** option. A sub-menu will appear, from which you should select your USB flash drive drive (e.g., “Removable Disk (F:)”). This will initiate the copying process, which will take some time depending on the size and number of files being transferred.
**Monitoring the Transfer Progress**
To monitor the progress of the file transfer, click on the File Explorer icon on your taskbar. A new window will open, displaying the progress bar for each file being copied. You can also observe the estimated time remaining for the transfer to complete.
During the transfer process, it’s important to avoid removing the USB flash drive or interrupting the connection. This could lead to data loss or corruption. Once the transfer is complete, a notification will appear on your screen, and you can safely eject the USB flash drive by right-clicking on its drive icon and selecting **Eject**.

Image: www.youtube.com
**Tips for Seamless and Secure Transfer**
Here are some expert tips to ensure a smooth and secure transfer of your pictures:
- Organize your Pictures: Before transferring pictures, it’s helpful to organize them into folders or subfolders by date, event, or subject. This will make it easier to locate specific photos later on.
- Use a File Compression Tool: For large picture files or multiple files, consider using a file compression tool to reduce the file size. This can save space on your USB flash drive and speed up the transfer process.
- Check File Compatibility: While most picture formats are widely supported, it’s always advisable to ensure that your computer and USB flash drive can read the file formats you’re transferring. If necessary, convert the files to a compatible format before transferring.
**Frequently Asked Questions (FAQs)**
- Can I use a USB flash drive to transfer pictures from my phone?
Yes, many USB flash drives come with an adapter that allows you to connect your phone and transfer pictures directly. - What is the best file format for transferring pictures?
JPEG and PNG are popular and widely supported file formats that balance quality and file size. However, TIFF and RAW formats offer superior quality but require more storage space. - How can I keep my transferred pictures safe and backed up?
Consider creating a duplicate copy of your pictures on an external hard drive or cloud storage service to safeguard your memories and avoid data loss in case of a drive failure or accidental deletion.
How To Transfer Pictures From Computer To Usb Flash Drive
**Conclusion**
Transferring pictures from your computer to a USB flash drive is a straightforward process that can be mastered with a few simple steps. By following the guidelines outlined in this article, you can effortlessly move your precious memories, preserve them securely, and share them with loved ones. Whether you’re an experienced tech enthusiast or a novice user, this guide will empower you to confidently navigate the transfer process.
Do you have any further questions or would like to share your experiences transferring pictures? Please feel free to leave a comment below, and let’s continue the conversation about preserving our digital memories.


:max_bytes(150000):strip_icc()/142202371-5ab3dbf1ff1b78003633a0dd.jpeg?w=740&resize=740,414&ssl=1)
