Picture this: the crisp grass under your feet, the roar of the crowd in your ears, and the thrill of the game coursing through your veins. Soccer, a sport that ignites passion and camaraderie, has captured the hearts of people worldwide. And now, you have the opportunity to immortalize its iconic symbol on paper with an easy, step-by-step guide to drawing a soccer ball.

Image: www.pinterest.com
So, grab your pencils, sharpen your wits, and let’s embark on a creative journey that will transform a blank canvas into a tribute to the beautiful game.
Step 1: Sketch the Foundation
Let’s start with the basics. Draw a circle using a compass or, if you’re feeling adventurous, freehand. This will serve as the foundation upon which our soccer ball will take shape.
Step 2: Divide the Circle
Next, we’ll divide the circle into 12 equal parts. Think of a clock face and mark every hour. These lines will create the vertical axes for our soccer ball’s panels.
Step 3: Sketch the Hexagons
Now, it’s time to give our ball some shape. Starting from the circle’s center, sketch six hexagons along the vertical lines. Each hexagon should be symmetrical and have six equal sides.
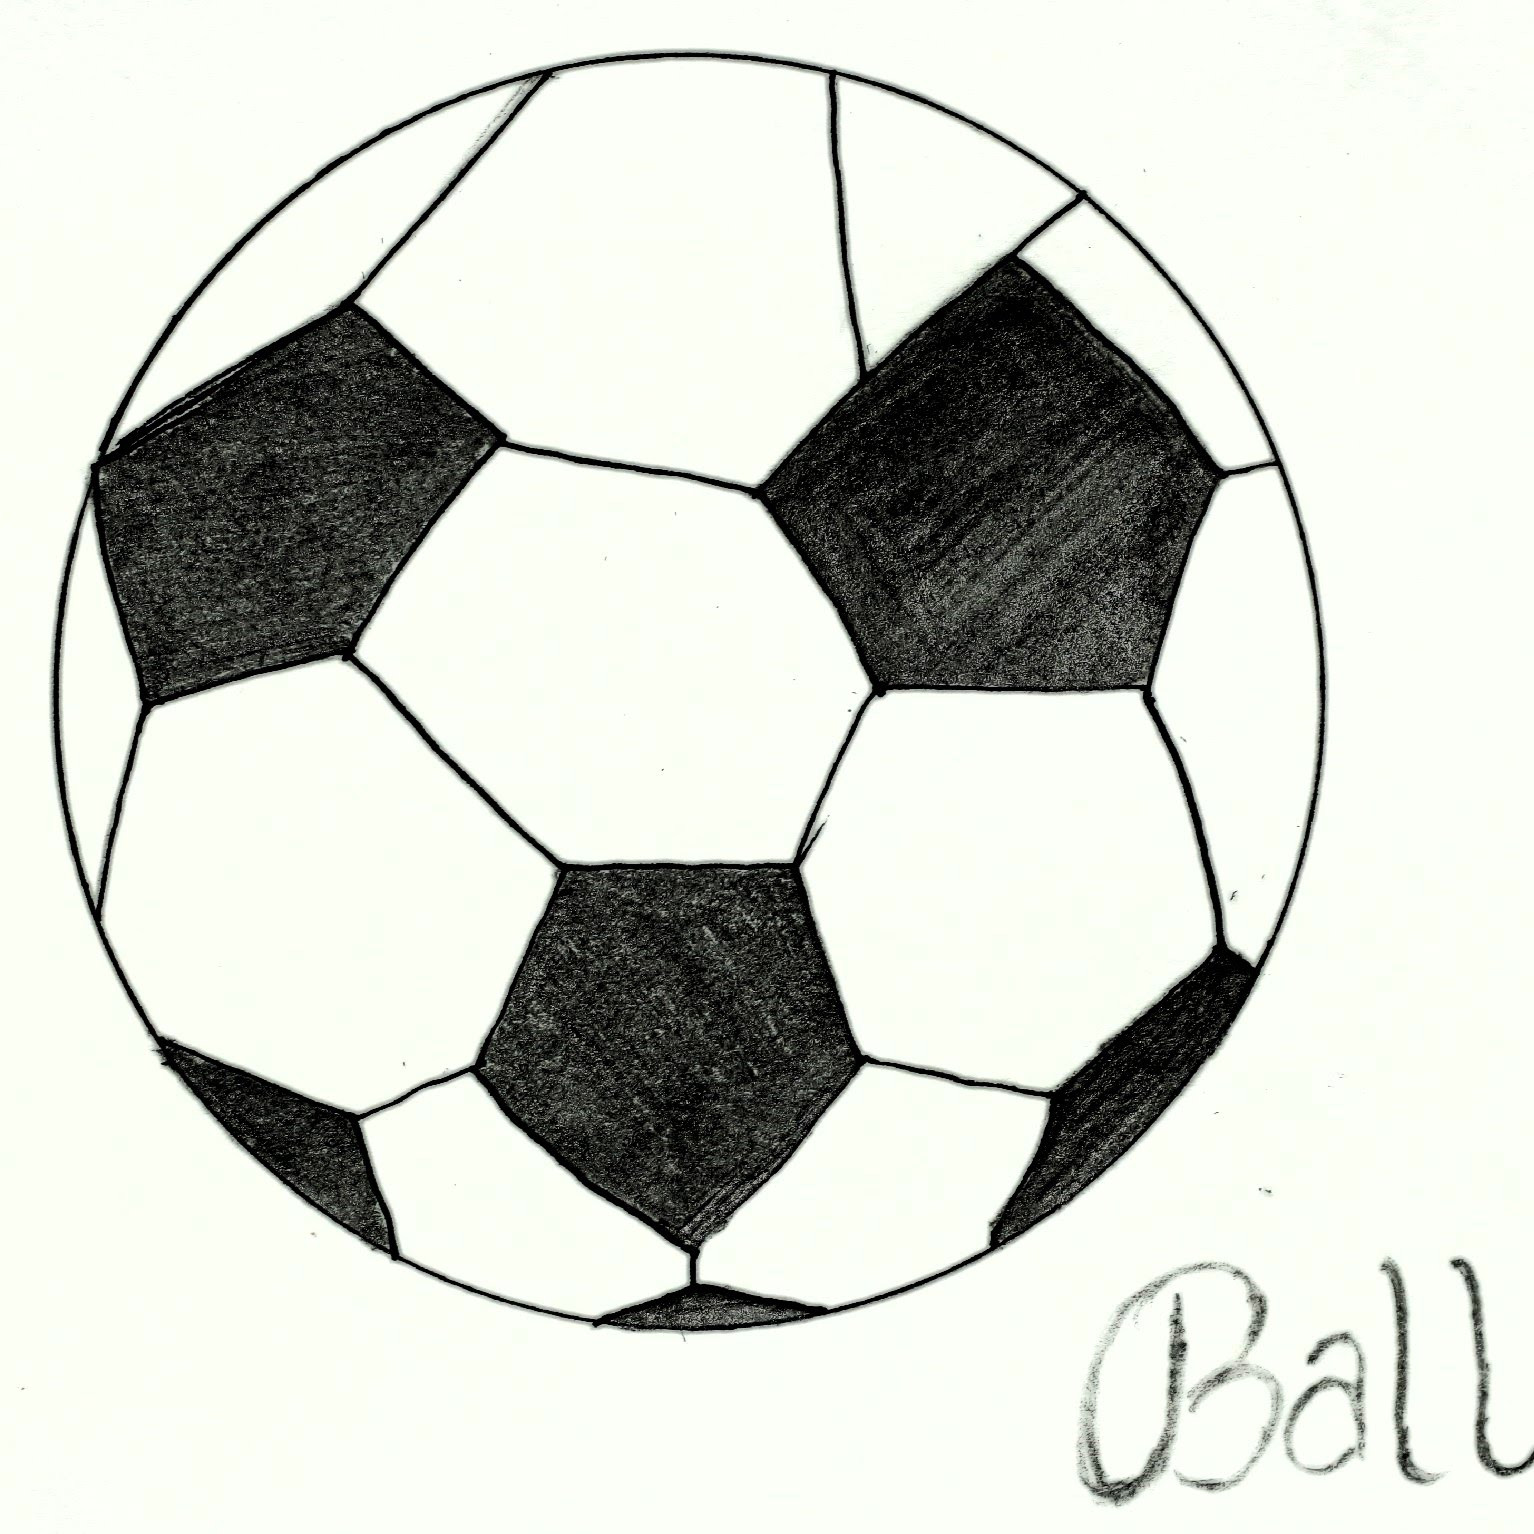
Image: clipartmag.com
Step 4: Add the Pentagons
In between the hexagons, draw five pentagons. These will complete the iconic pattern of the soccer ball. Ensure they fit snugly between the hexagons and have five equal sides.
Step 5: Define the Edges
Let’s give our soccer ball some definition. Thicken the edges of the hexagons and pentagons using a darker pencil or a bolder stroke. This will accentuate the shape and form.
Step 6: Shade and Highlight
Bring your soccer ball to life with shading and highlighting. Use a darker tone for the edges of the panels, gradually fading towards the center. For the highlights, use a lighter tone and apply it to the top edges of the panels to create a sense of dimension.
Step 7: Add Stitching Details
No soccer ball is complete without its signature stitching. Draw fine lines along the edges of the panels, following the contours of the hexagons and pentagons. These lines will add an intricate touch of realism.
Step 8: Erase the Guidelines
Now that your soccer ball is complete, it’s time to erase the guide lines we drew earlier. These will blend into the background, leaving behind a polished and professional-looking drawing.
Step 9: Personalize Your Creation
Make your soccer ball uniquely yours by adding details that reflect your style. Draw a logo, a favorite player’s signature, or a memorable date. This will add a personal touch to your masterpiece.
How To Draw Soccer Ball Step By Step
Conclusion:
There you have it, the secrets to drawing a perfect soccer ball. Whether you’re a seasoned artist or a budding enthusiast, this step-by-step guide has empowered you to create a tribute to your passion.
So, spread the joy, share your creation with the world, and inspire others to embrace their inner artist. Remember, the true beauty lies not only in the masterpiece but in the journey of creating it.


/GettyImages-1303637-two-way-mirror-57126b585f9b588cc2ed8a7b-5b8ef296c9e77c0050809a9a.jpg?w=740&resize=740,414&ssl=1 "Unveiling the Illusion – A Comprehensive Guide to Detecting Two-Way Mirrors")


