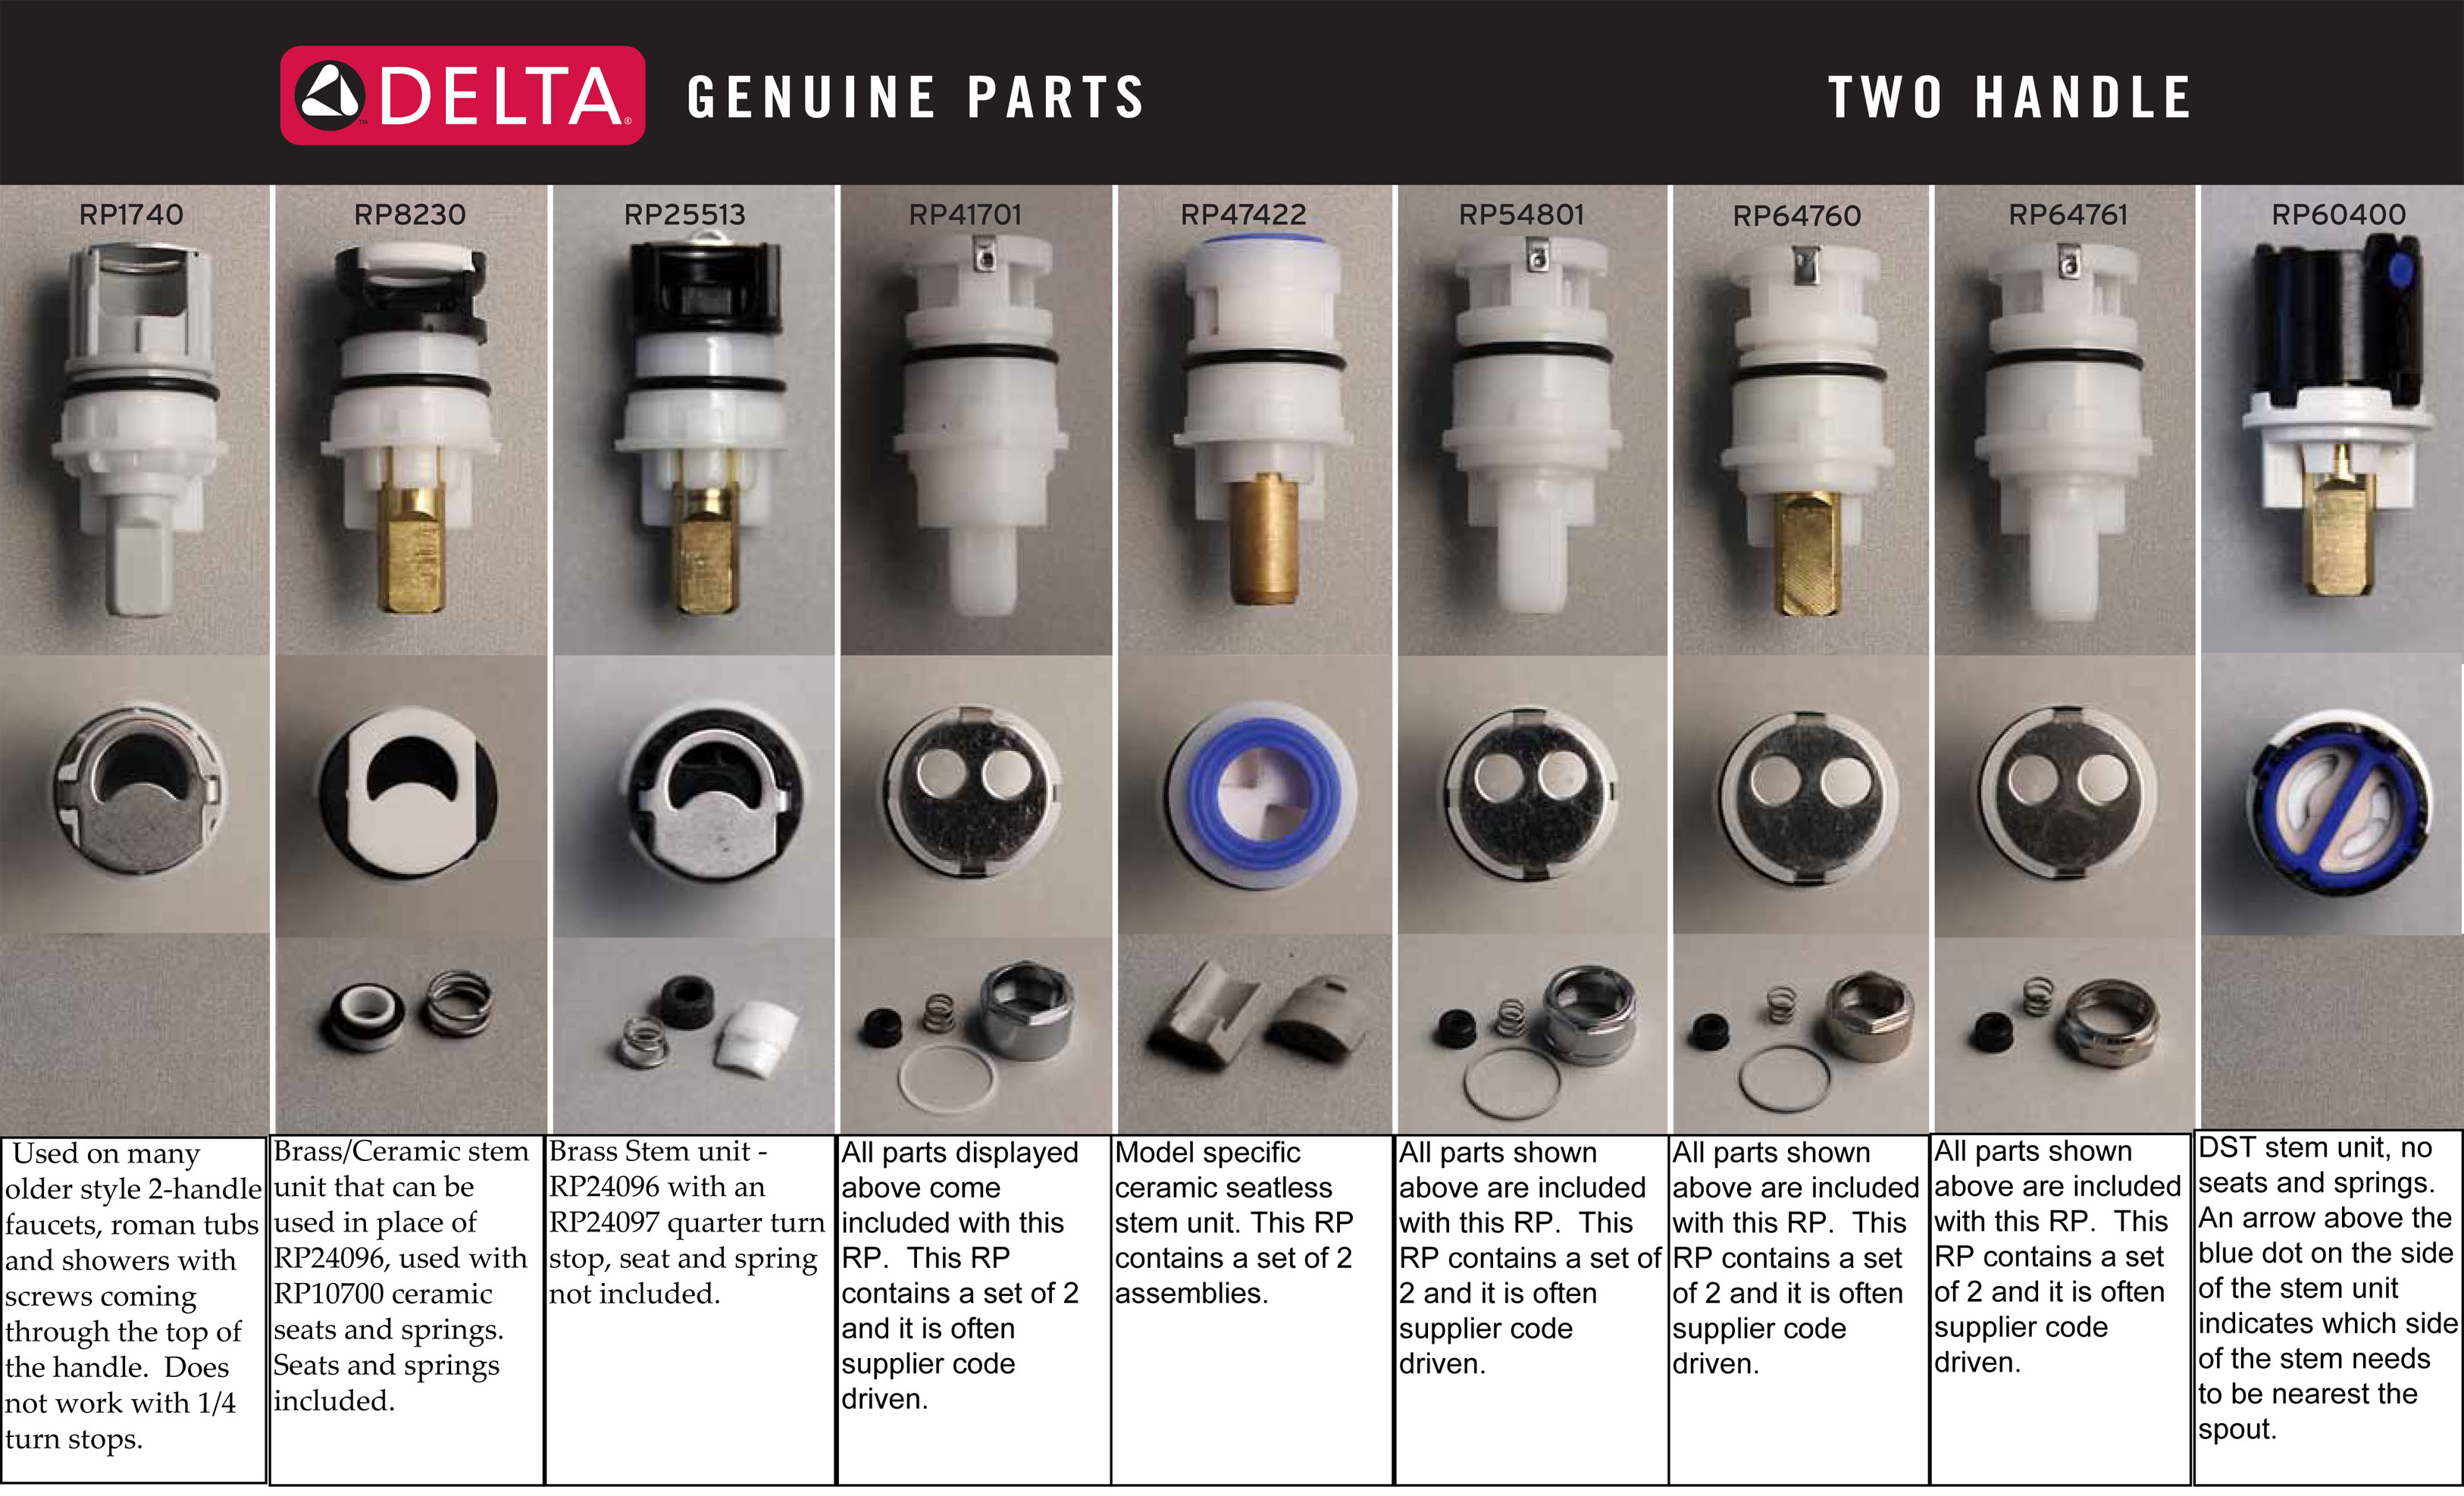
Tired of endless drips and sputtering showers? A faulty shower valve stem could be the culprit. Changing it is a straightforward project that requires basic tools and a little know-how. Let’s dive into a detailed guide that will empower you to fix the issue like a pro.

Image: www.youtube.com
A shower valve stem is a small cylindrical component that regulates the flow of water in your shower. Over time, it can develop wear and tear, causing leaks or restricted water flow. Replacing it is a convenient way to restore the smooth operation of your shower.
Understanding Shower Valve Stems
There are two main types of shower valve stems: compression and cartridge. Compression stems have a packing washer that seals against the valve seat to prevent leaks, while cartridge stems contain a self-contained unit that houses the valve components.
To identify the type of stem in your shower, remove the handle. If you see a round packing nut behind the handle, you have a compression stem. If you see a cylindrical cartridge, you have a cartridge stem.
Tools and Materials You’ll Need
- Phillips head screwdriver
- Adjustable wrench
- Allen wrench (hex key)
- New shower valve stem
- Plumber’s tape or sealant
- Paper towels or rags
Safety First
Always turn off the water supply to your shower before starting any work. To do this, locate the main water shut-off valve, which is typically found near the water heater or outside the house. Closing this valve will prevent water from flowing into the shower.

Image: robinjlippert.z21.blob.storage.azure.net
Step-by-Step Instructions
For Compression Valve Stems:
- Remove the handle by unscrewing the screws that hold it in place.
- Unscrew the packing nut using an adjustable wrench. Be careful not to overtighten the wrench.
- Pull out the old stem.
- Apply plumber’s tape or sealant to the threads of the new stem.
- Insert the new stem into the valve body.
- Tighten the packing nut by hand, then use the adjustable wrench to snug it up.
- Reinstall the handle and tighten the screws.
For Cartridge Valve Stems:
- Remove the handle using an Allen wrench.
- Using an adjustable wrench, unscrew the retaining nut behind the handle.
- Pull out the old cartridge.
- Wrap plumber’s tape around the threads of the new cartridge.
- Insert the new cartridge into the valve body and tighten the retaining nut.
- Reinstall the handle and tighten the Allen screw.
Finishing Up
Once you’ve replaced the stem, turn on the water supply and check for leaks. If everything is in order, you’ve successfully completed the project. Enjoy your newly repaired shower with smooth water flow and no annoying drips.
Tips for Success
- If you encounter any difficulties or have doubts, don’t hesitate to consult a professional plumber.
- To prevent future problems, clean your showerhead and aerator regularly to remove mineral buildup.
- Use a water-saving showerhead to conserve water and reduce your energy bills.
How To Change A Shower Valve Stem
Conclusion
Replacing a shower valve stem is a practical task that can save you the hassle and expense of calling a plumber. With the right tools and a step-by-step guide, you can effectively fix the issue and restore the comfort of your shower. Tackle this project with confidence and enjoy the benefits of a revitalized shower that operates flawlessly.


/GettyImages-1303637-two-way-mirror-57126b585f9b588cc2ed8a7b-5b8ef296c9e77c0050809a9a.jpg?w=740&resize=740,414&ssl=1)


