Liquid Bandages: An Effective Covering for Minor Wounds
Liquid bandages, also known as liquid skin, are a convenient and effective way to protect minor cuts, scrapes, and abrasions. They form a thin, flexible film that seals the wound and keeps out dirt and bacteria. However, removing liquid bandages can sometimes be challenging. Here’s a step-by-step guide to help you remove liquid bandage safely and effectively.

Image: www.shutterstock.com
Methods for Removing Liquid Bandage
There are several methods you can use to remove liquid bandage. The best approach will depend on the location of the bandage, the size of the area it covers, and your personal preferences.
1. Using a Nail Polish Remover
Nail polish remover, particularly those containing acetone, is an effective way to dissolve liquid bandage. Apply a small amount of nail polish remover to a cotton ball or swab and gently rub it over the liquid bandage. Be careful not to touch the surrounding skin, as acetone can be irritating.
2. Soaking in Warm Water
Soaking the area covered by liquid bandage in warm water can help loosen the adhesive. Fill a bowl with warm water and soak the area for 1-2 minutes. Once the bandage has softened, gently peel it away from the skin.

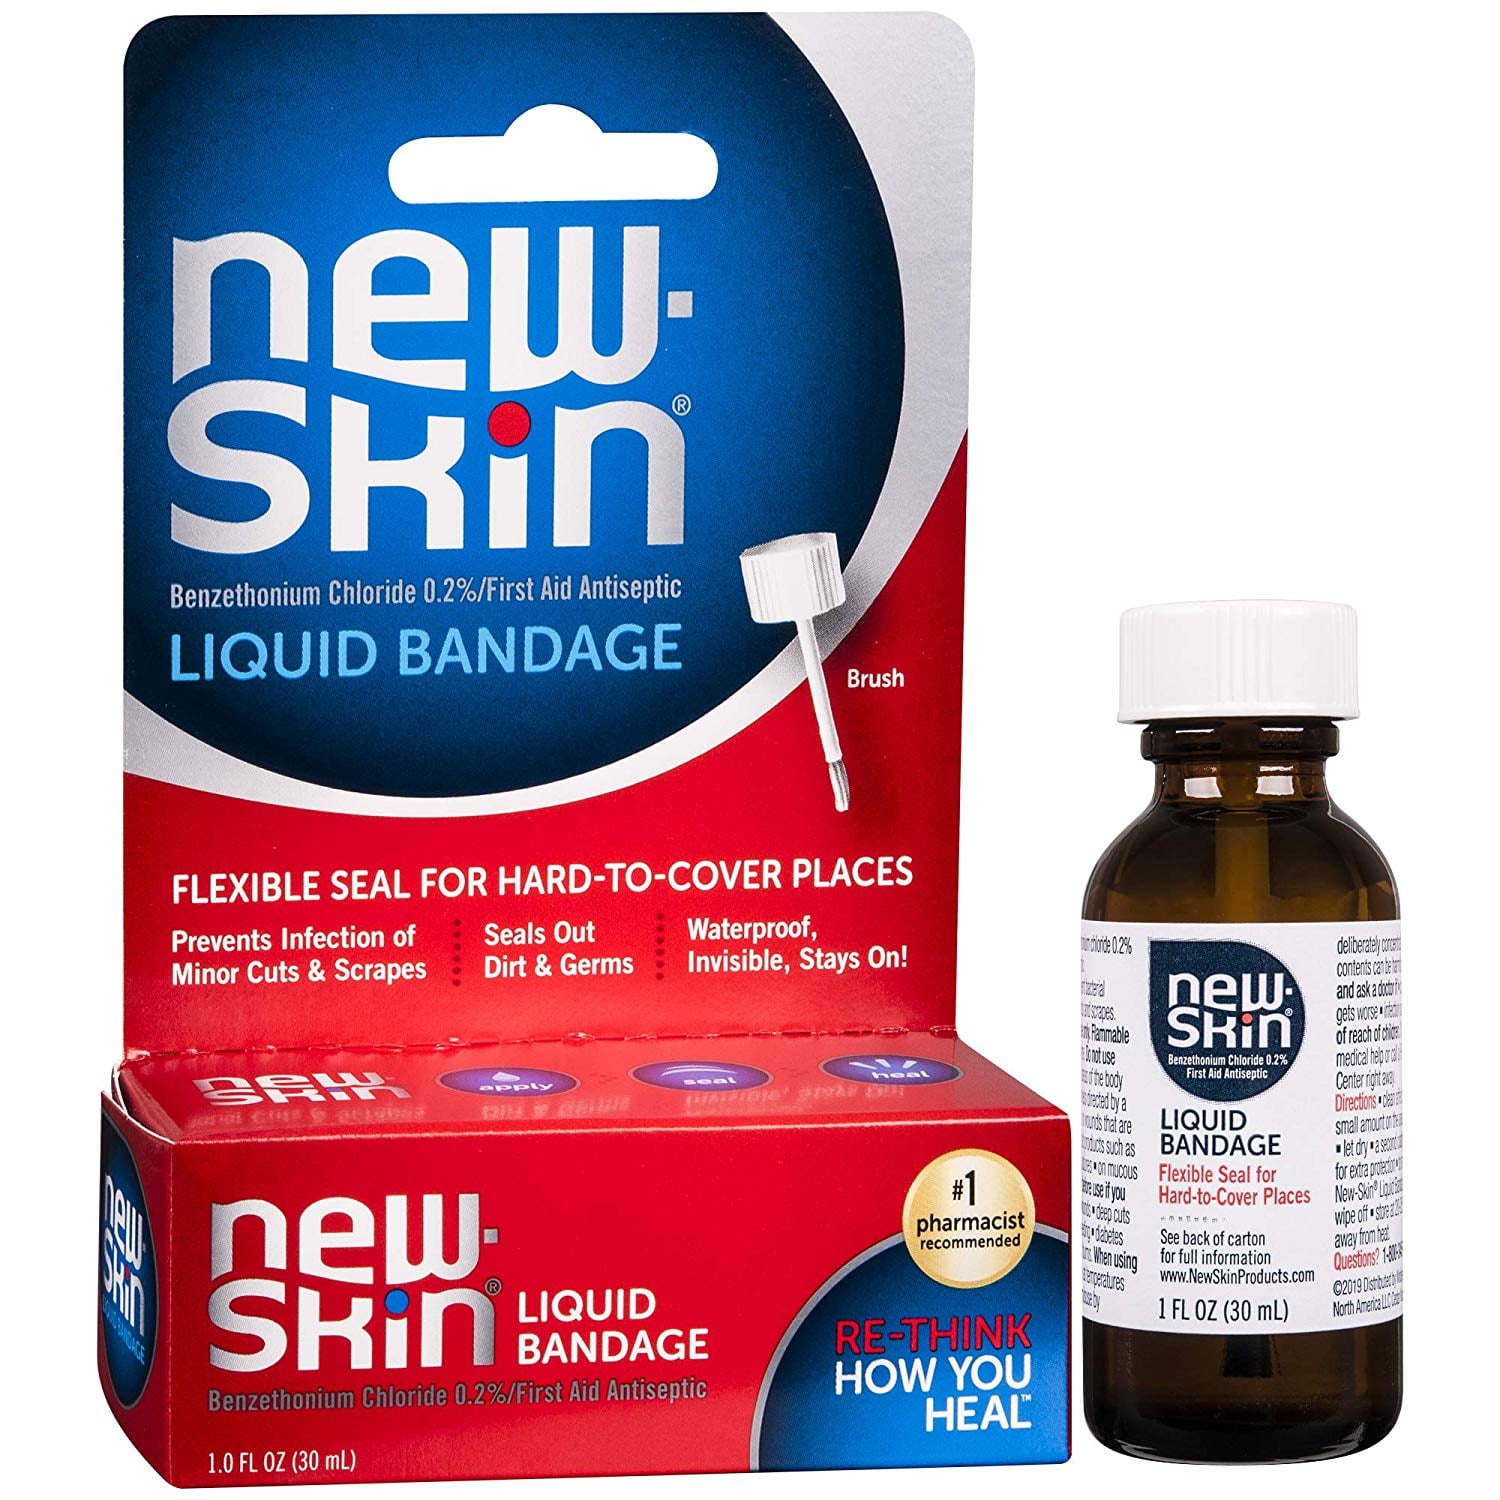
Image: www.walmart.com
3. Using a Petroleum Jelly or Oil
Petroleum jelly or oil can also help soften liquid bandage. Apply a generous amount of petroleum jelly or oil to the bandage and let it sit for several minutes. This will help dissolve the adhesive and make it easier to remove.
4. Using a Bandage Remover
There are commercial bandage remover products available that are specifically designed to remove liquid bandages. These products typically contain solvents that dissolve the adhesive. Follow the instructions on the product label for proper use.
5. Patience and Exfoliation
If the liquid bandage is on a sensitive area or if the other methods don’t work, you can try being patient and gently exfoliating the area. Over time, the bandage will gradually peel off on its own. Take care not to rub too hard, as this could irritate the skin.
Tips and Expert Advice
Here are some tips and expert advice to keep in mind:
- Be gentle when removing liquid bandage, as pulling or tearing can damage the skin.
- If the liquid bandage is covering a large area, remove it in small sections.
- If you’re using a nail polish remover, be sure to spot-test it on a small area first to ensure it doesn’t irritate your skin.
- When soaking the bandage in warm water, avoid using water that is too hot, as this can also damage the skin.
- If you experience any pain or irritation when removing liquid bandage, stop and consult a healthcare professional.
FAQs on Liquid Bandage Removal
Q: How long should I soak liquid bandage in warm water?
A: Soak the bandage for 1-2 minutes, or until it has softened enough to peel away easily.
Q: Can I use a pumice stone to remove liquid bandage?
A: Using a pumice stone is not recommended. It can be abrasive and damage the skin.
Q: How often should I remove liquid bandage?
A: Change liquid bandage at least once a day to keep the wound clean and prevent infection.
How Do You Get Liquid Bandage Off
Conclusion
Removing liquid bandage can be simple and painless if you follow the steps outlined above. Remember to be gentle, choose the method that best suits your situation, and seek professional advice if you encounter any difficulties. With a little patience and care, you can get rid of liquid bandage and reveal clean, protected skin.
Are you looking for a convenient and effective way to protect your minor wounds? Give liquid bandages a try and keep your skin protected from dirt and bacteria.


/GettyImages-1303637-two-way-mirror-57126b585f9b588cc2ed8a7b-5b8ef296c9e77c0050809a9a.jpg?w=740&resize=740,414&ssl=1)


