With its intricate interlacing and regal beauty, the Dutch braid has become a timeless and elegant hair-styling technique. Mastering this braid will elevate your hair game and turn heads wherever you go. In this comprehensive guide, we’ll break down the steps involved in creating a stunning Dutch braid, suitable for both beginners and seasoned braiders.

Image: moreinfoh.github.io
Understanding the Dutch Braid
The Dutch braid, also known as the reverse French braid, is characterized by its unique construction. Unlike the classic three-strand braid, the Dutch braid is built from the back forwards, with each strand being crossed over the center instead of underneath. This creates a raised, three-dimensional braid that adds volume and texture to the hair.
Step-by-Step Braid Guide
Step 1: Brush and Divide the Hair
Begin with thoroughly brushed hair to detangle any knots. Divide the hair into three equal sections at the crown. These will form the foundation strands of your braid.
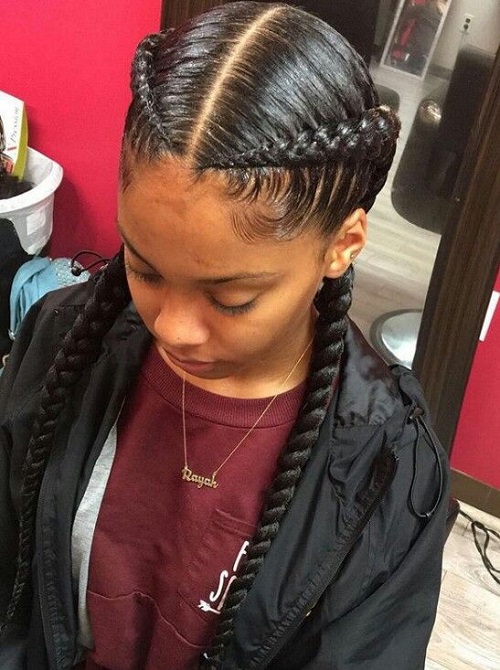
Image: www.elfinhair.com
Step 2: Cross the Outer Strands Over
Take the right-hand section and cross it over the middle section. Repeat the process with the left-hand section, crossing it over the new middle strand. This establishes the alternating crossover pattern.
Step 3: Add Hair from the Sides
Now it’s time to incorporate hair from the sides. From the right side, take a small section of hair and add it to the right-hand strand. Cross this combined strand over the middle strand. Similarly, add hair from the left side to the left-hand strand and cross it over.
Step 4: Repeat Steps 2 and 3
Continue to alternate steps 2 and 3, gradually adding hair from the sides to each strand. As you braid, keep the strands tight to create a secure and visible braid. Remember to cross the strands over the middle strand, not underneath.
Step 5: Loosely Braid the End
Once you reach the nape of the neck, you may find there is not enough hair left for the full Dutch braid. At this point, switch to a traditional three-strand braid and loosen the tension to create a more relaxed and youthful look.
Step 6: Secure and Style
Finish the braid by tying the end with an elastic band. To enhance the shape of the Dutch braid, gently pull on the outer edges of the braid to widen it and create more volume.
Tips for a Flawless Dutch Braid
- Practice makes perfect: Don’t get discouraged if your first few attempts don’t turn out as desired. Keep practicing and you’ll eventually master the technique.
- Use a mirror: A mirror can help you visualize the braiding process and make it easier to incorporate hair from the sides evenly.
- Keep your strands taut: Tightening the strands while braiding ensures a secure and visible braid. Be careful not to pull too hard, though, to avoid hair breakage.
- Experiment with accessories: Dutch braids can be adorned with ribbons, clips, or beads to add a touch of flair and customization.
How Do You Do A Dutch Braid Step By Step
Conclusion
With patience and practice, you can master the art of Dutch braiding and add this versatile style to your hair repertoire. Its intricate beauty and voluminous effect make it perfect for any occasion, from casual outings to formal events. So, gather your hair, grab a comb, and embark on your Dutch braiding journey today.


/GettyImages-1303637-two-way-mirror-57126b585f9b588cc2ed8a7b-5b8ef296c9e77c0050809a9a.jpg?w=740&resize=740,414&ssl=1 "Unveiling the Illusion – A Comprehensive Guide to Detecting Two-Way Mirrors")


